
Few things disrupt your day quite like a sluggish computer. Whether you’re a home user waiting on a frozen browser or an IT administrator fielding help desk tickets, slow performance on a Windows PC is one of the most common and frustrating tech problems—and it rarely fixes itself.
The good news? Most slowdowns have identifiable causes, from bloated startup programs to failing drives. This guide walks you through how to troubleshoot slow performance on a Windows PC step by step, with practical fixes for beginners and advanced diagnostics for IT pros. Let’s get your machine running fast again.
Introduction
Slow performance on a Windows PC is one of the most common complaints from both home users and IT administrators. A machine that once booted in seconds can gradually take minutes to reach the desktop, applications lag behind every click, and simple tasks like opening a browser feel like wading through mud. This guide covers How to Troubleshoot Slow Performance on a Windows PC in practical, step-by-step detail. Rather than guessing at the cause, you will learn a structured method that moves from low-risk checks to deeper system-level fixes.
The causes of a sluggish Windows system are rarely mysterious. They usually fall into a handful of categories: too many startup programs, insufficient RAM, failing storage drives, malware, outdated drivers, thermal throttling, or an accumulation of background services. The challenge is not knowing the list — it is knowing the order in which to check each item so you do not waste hours chasing the wrong culprit.
This article is written for two audiences. Beginners will find plain-language explanations and safe first steps. IT administrators will find a repeatable diagnostic workflow, command-line references, and tips for standardizing the process across a fleet of machines. Throughout, we treat troubleshooting as a form of installation and configuration work: you prepare the environment, apply the right changes, verify them, and then maintain the result. That framing matters because performance tuning is not a one-time event — it is a maintenance discipline.
Prerequisites
Before you change a single setting, confirm that you have the access and information required to do the job safely. Skipping this stage is the fastest way to make a slow PC slower, or to lock yourself out of tools you need later.
- Administrative privileges: Most performance fixes — disabling startup items, editing services, updating drivers, running disk checks — require an account in the local Administrators group. If you are a standard user, request elevation or use a managed admin account.
- Hardware baseline: Know your CPU model, total RAM, storage type (HDD, SATA SSD, or NVMe SSD), and graphics adapter. Tools like Task Manager, System Information (msinfo32), or a quick look at the manufacturer’s spec sheet will do.
- Architecture awareness: Always verify software compatibility with your hardware architecture (ARM64 vs x86). Windows on ARM devices cannot run older x86 kernel drivers, and some diagnostic utilities are x64-only. Installing the wrong build wastes time and can destabilize the system.
- Backup capability: Have a recent backup or restore point. Changes to services, registry keys, and drivers can sometimes leave a system unbootable.
- Network access: You will need a stable connection to download Windows updates, driver packages, and diagnostic utilities.
- A record-keeping method: A simple text file or ticket note where you log each change and its effect. This is essential when you need to roll back.
Note that prior Linux experience is not required for this guide. Every command and tool referenced here runs natively on Windows. The Linux-style mindset of reading logs and verifying changes one at a time is helpful, but no Linux command line knowledge is assumed.
Preparation
Preparation is where careful administrators separate themselves from people who reboot repeatedly and hope for the best. The goal is to create a known-good starting point and to capture evidence before you modify anything.
First, keeping your operating system updated before installation prevents dependency conflicts. Run Windows Update to completion, including optional driver updates, then reboot. This step alone resolves a surprising number of performance problems because it patches memory leaks and fixes buggy drivers that ship with the OS. If you are working in a managed environment, coordinate with your patch management schedule so you do not trigger a reboot during a user’s active session.
Next, create a restore point. Open the Start menu, type “Create a restore point,” and select the System Protection tab. This gives you a one-click rollback if a change goes wrong. For IT administrators managing many machines, verify that System Restore is enabled through Group Policy, or take a snapshot at the hypervisor level if the PC is virtualized.
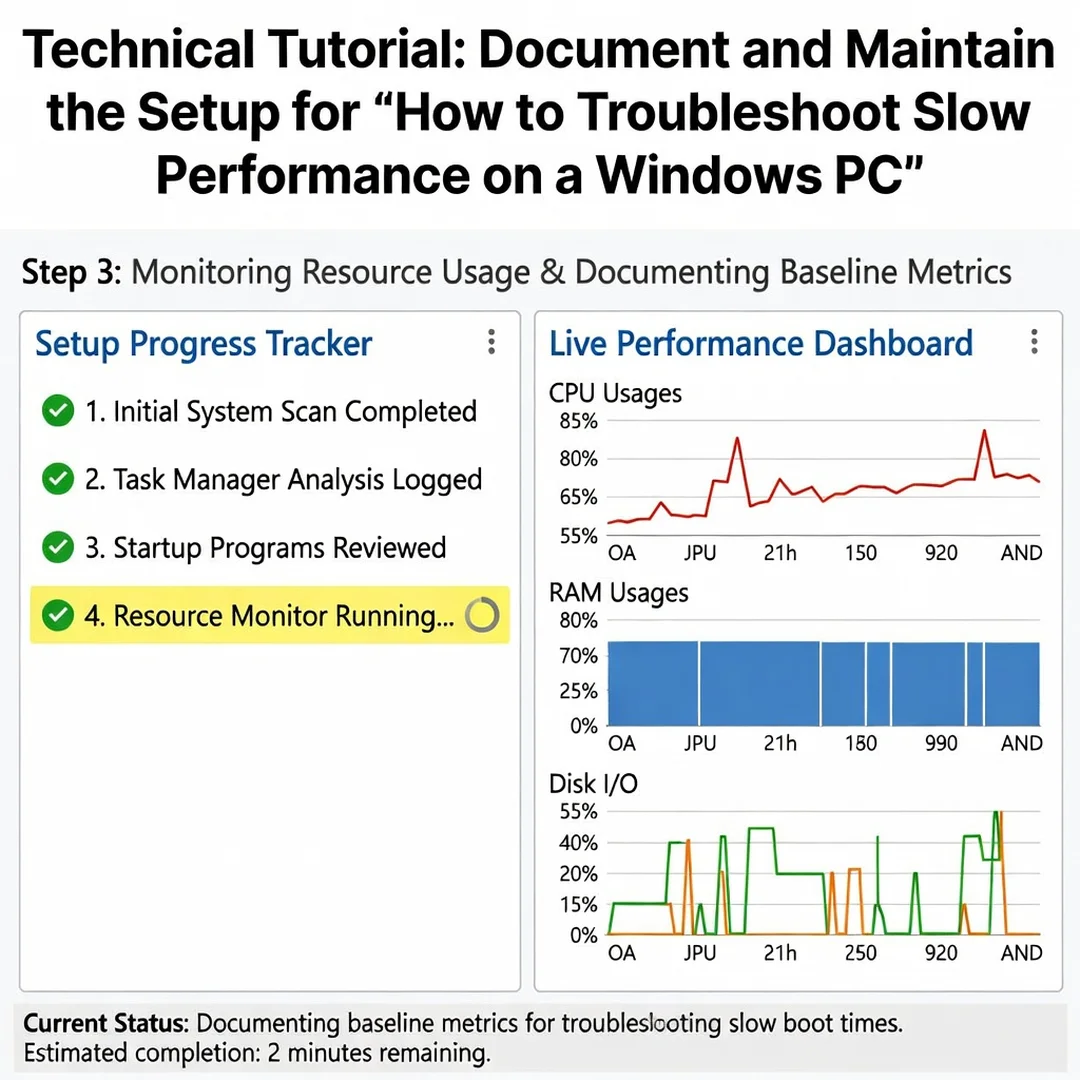
Then, gather baseline metrics. Launch Task Manager (Ctrl+Shift+Esc) and open the Performance tab. Record CPU usage at idle, memory in use, disk queue length, and disk active time. A Windows PC sitting idle should use well under 20 percent CPU and should not have a sustained disk active time near 100 percent. These numbers are your reference point; without them, you cannot prove that a fix actually helped.
Finally, document the symptoms precisely. “It’s slow” is not a symptom. “Boot takes four minutes, Chrome takes 20 seconds to open, and the disk shows 100 percent activity for ten minutes after login” is a symptom. The more specific your baseline, the faster you can isolate the cause.
Installation Steps
The following steps treat performance troubleshooting as a structured procedure. Follow them in order, and stop as soon as the machine returns to acceptable performance — there is no value in applying every fix if the problem is already solved.
Step 1: Review prerequisites and compatibility
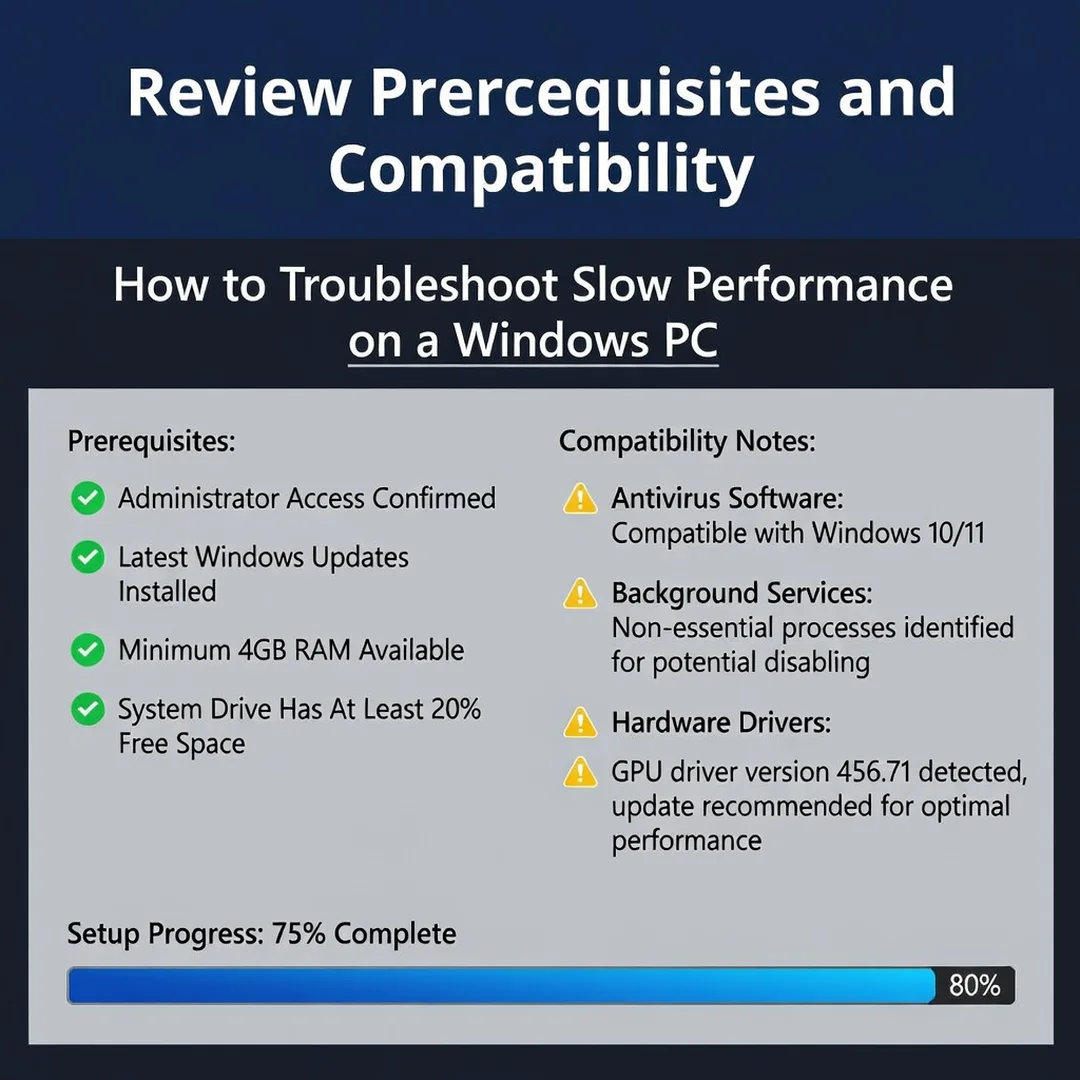
Revisit the prerequisites list and confirm each item against the specific machine in front of you. Check whether the installed Windows edition is 32-bit, 64-bit x64, or ARM64. Open Settings, then System, then About, and read the System type field. If you plan to install diagnostic tools, confirm they publish a build for that architecture. Always verify software compatibility with your hardware architecture (ARM64 vs x86) before downloading anything, because a failed driver install on an ARM device can require a full reset. Also confirm the machine meets the minimum RAM and storage requirements for the tools you intend to use.
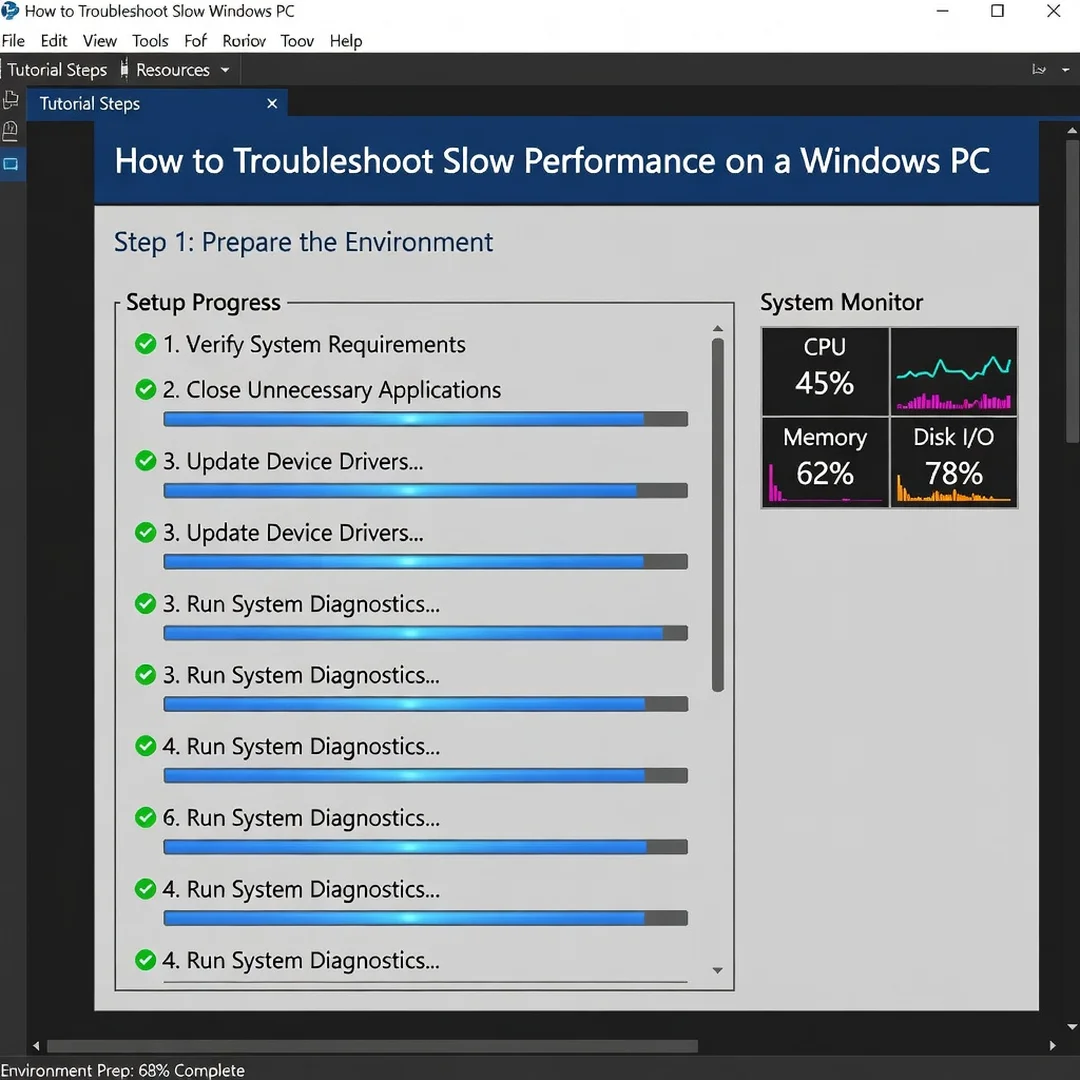
Step 2: Prepare the environment
Close all non-essential applications and browser tabs. Disconnect unnecessary USB devices, especially external drives that may be indexing in the background. Ensure the PC is plugged into power — not running on a low battery, which triggers power-saving throttling. Create the restore point described in the Preparation section if you have not already done so. Disable any third-party antivirus temporarily only if you suspect it is the cause, and remember to re-enable it afterward. If you are an IT administrator, confirm that you have remote management access in case the machine becomes unresponsive.
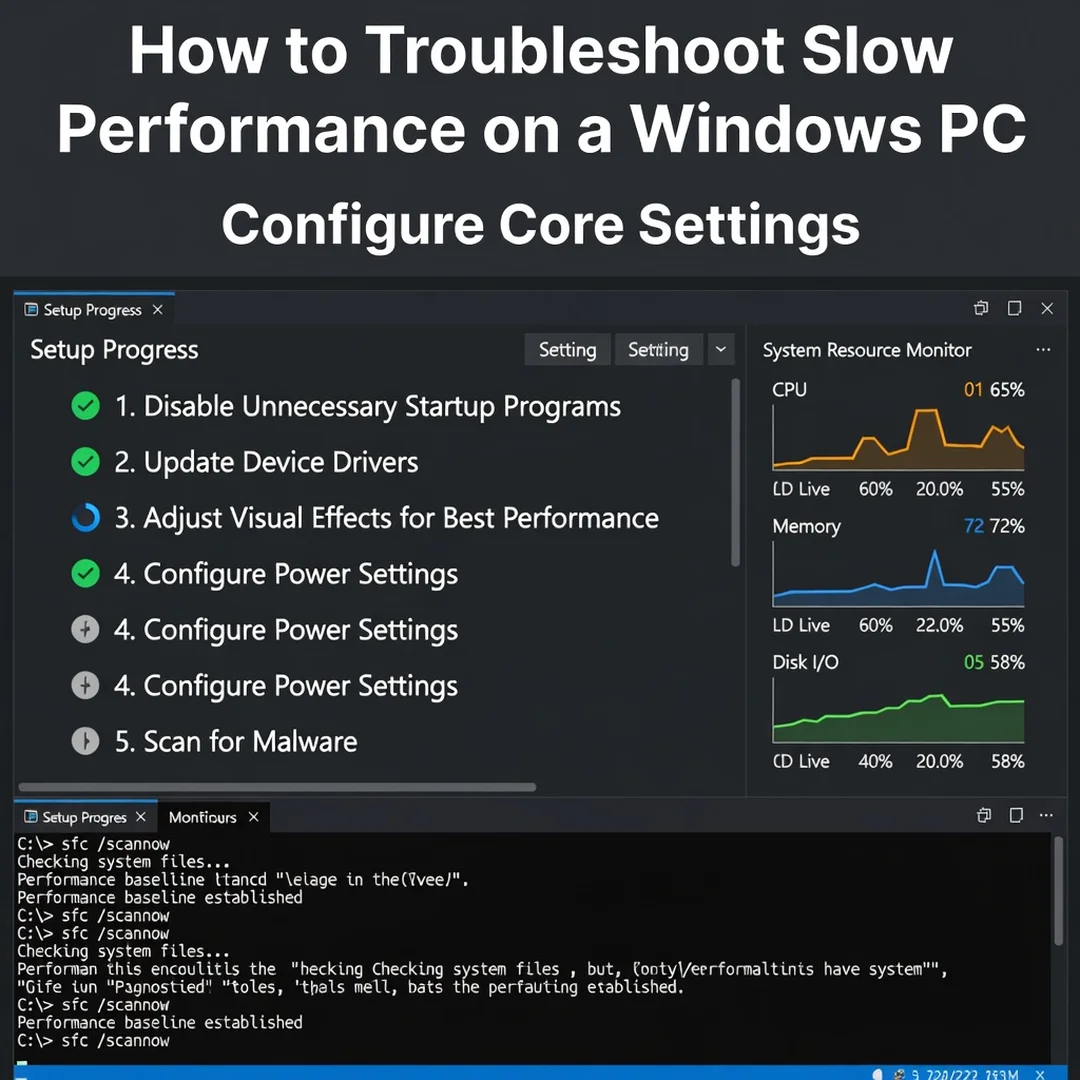
Step 3: Configure core settings
Now address the most common and reversible causes. Open Task Manager and select the Startup tab. Disable every entry with a High startup impact that the user does not need immediately — cloud sync clients, updater services, and chat apps are typical offenders. Next, go to the Details or Processes tab and sort by CPU and then by Memory to find runaway processes. If a single process is consuming a disproportionate share, note its name and check its publisher before taking action.
Run the built-in Disk Cleanup utility (cleanmgr) and remove temporary files, then use Storage Sense in Settings to automate future cleanup. Verify that the storage drive is not nearly full; Windows needs at least 10 to 15 percent free space to manage virtual memory and updates efficiently. If the machine still uses a mechanical hard drive, cloning the system to an SSD is the single highest-impact upgrade available, and it directly resolves the 100-percent disk usage pattern that plagues older laptops.
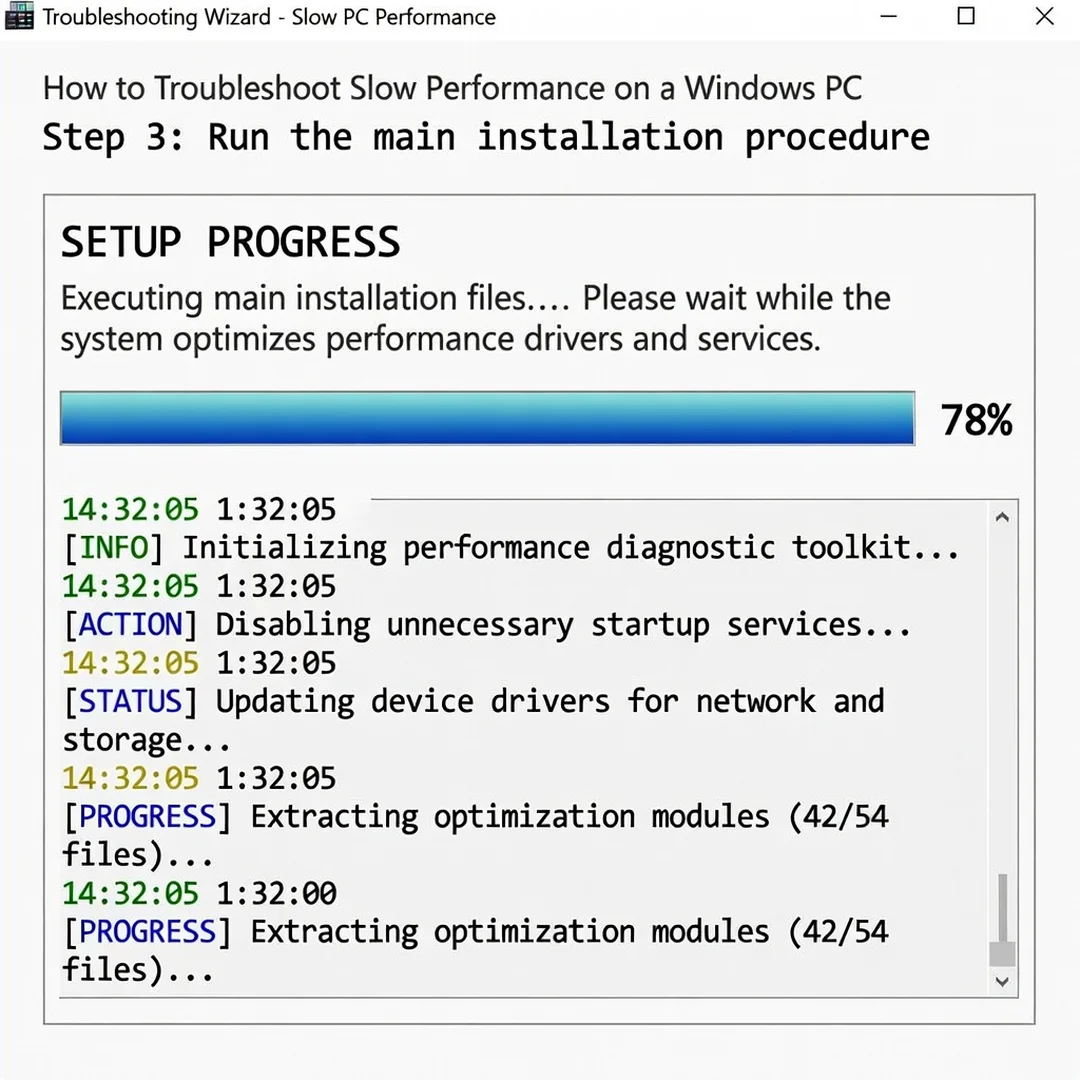
Step 4: Run the main installation procedure
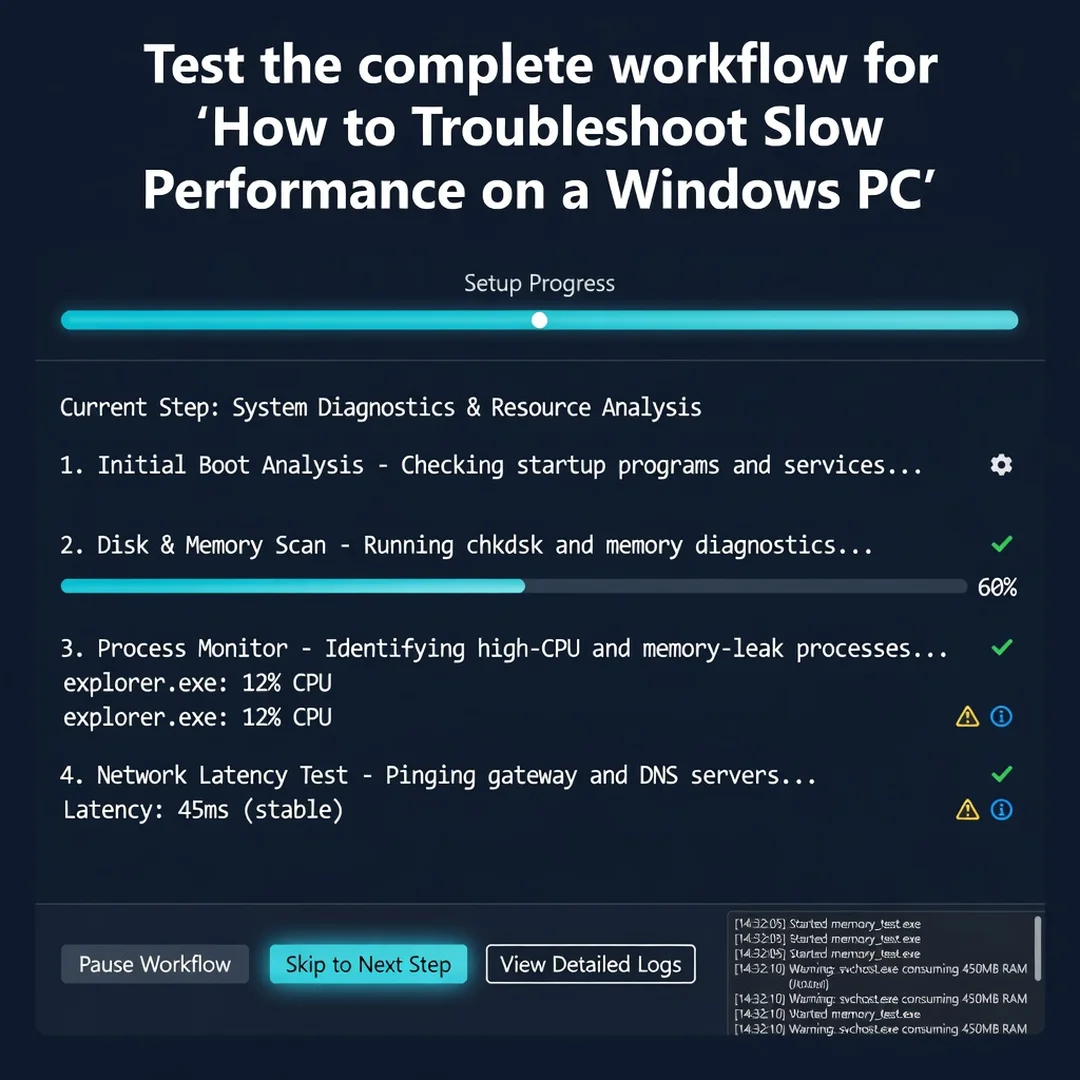
This step covers the deeper repairs. Open an elevated Command Prompt or PowerShell. Run the System File Checker with the command sfc /scannow and wait for it to finish. Follow it with DISM /Online /Cleanup-Image /RestoreHealth to repair the component store that SFC relies on. These two commands fix corrupted system files that cause unexplained slowdowns and failed updates.
Next, check the storage health. For SSDs and HDDs alike, run chkdsk C: /scan in an elevated prompt; the scan-only form does not require a reboot. Use the manufacturer’s utility or a SMART-reading tool to inspect drive health attributes. If the drive reports reallocated sectors or a failing status, back up immediately and replace it — no amount of software tuning will fix failing hardware.
Then update drivers, prioritizing chipset, storage controller, and graphics drivers from the manufacturer’s website rather than generic Windows Update packages. Finally, scan for malware with Microsoft Defender or your endpoint protection tool, running a full scan rather than a quick one. Malware remains a leading cause of persistent slowness, especially on machines used for browsing and email.
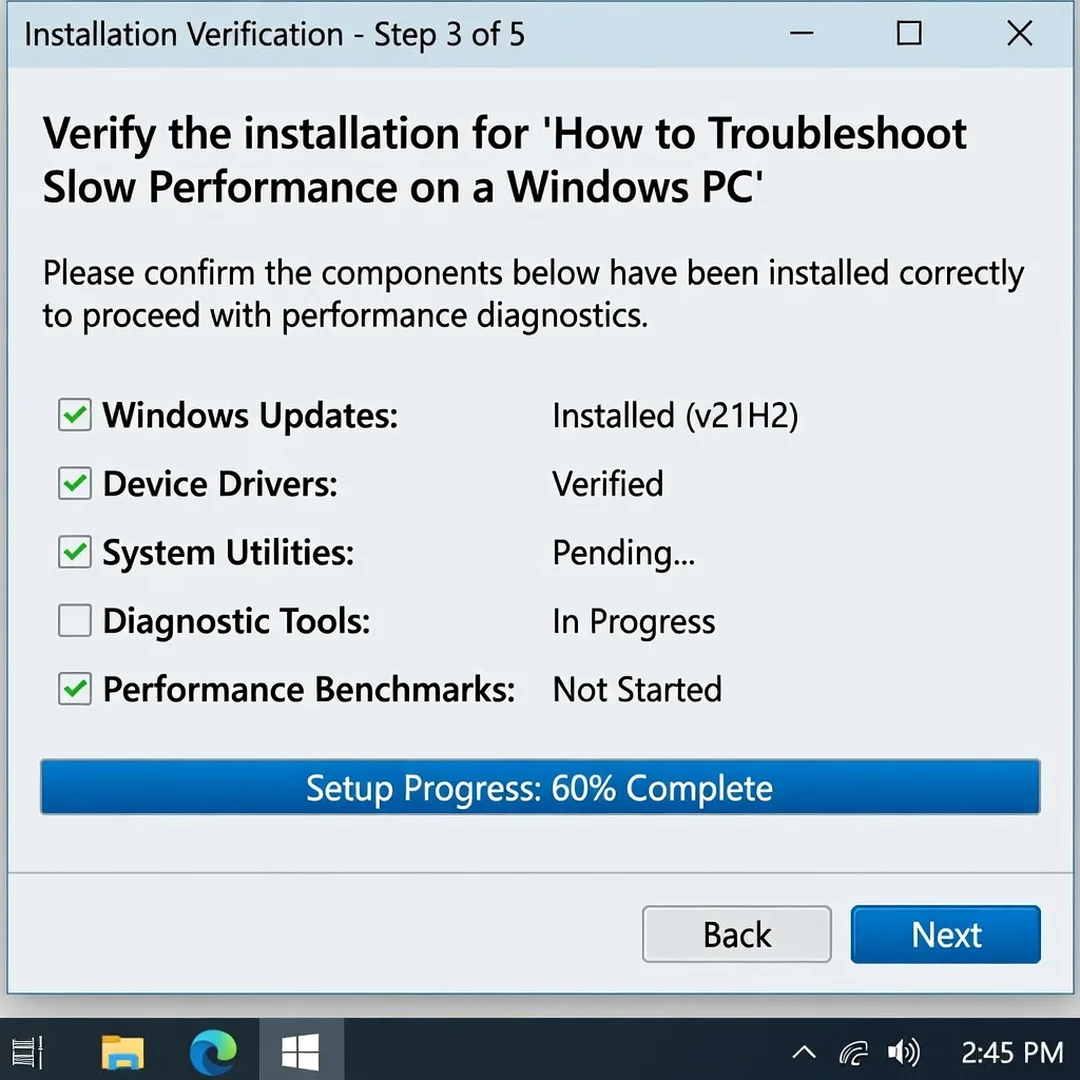
Step 5: Verify the installation
Reboot the machine and return to Task Manager’s Performance tab. Compare the current CPU, memory, and disk figures against your baseline. Boot time should be measurably shorter, idle disk activity should drop, and applications should open without the spinning cursor delay. Open two or three of the applications the user relies on most and time how long they take to become responsive. Re-run sfc /scannow to confirm it now reports no integrity violations. If you are an administrator, document the before-and-after metrics in the ticket so the fix is auditable.
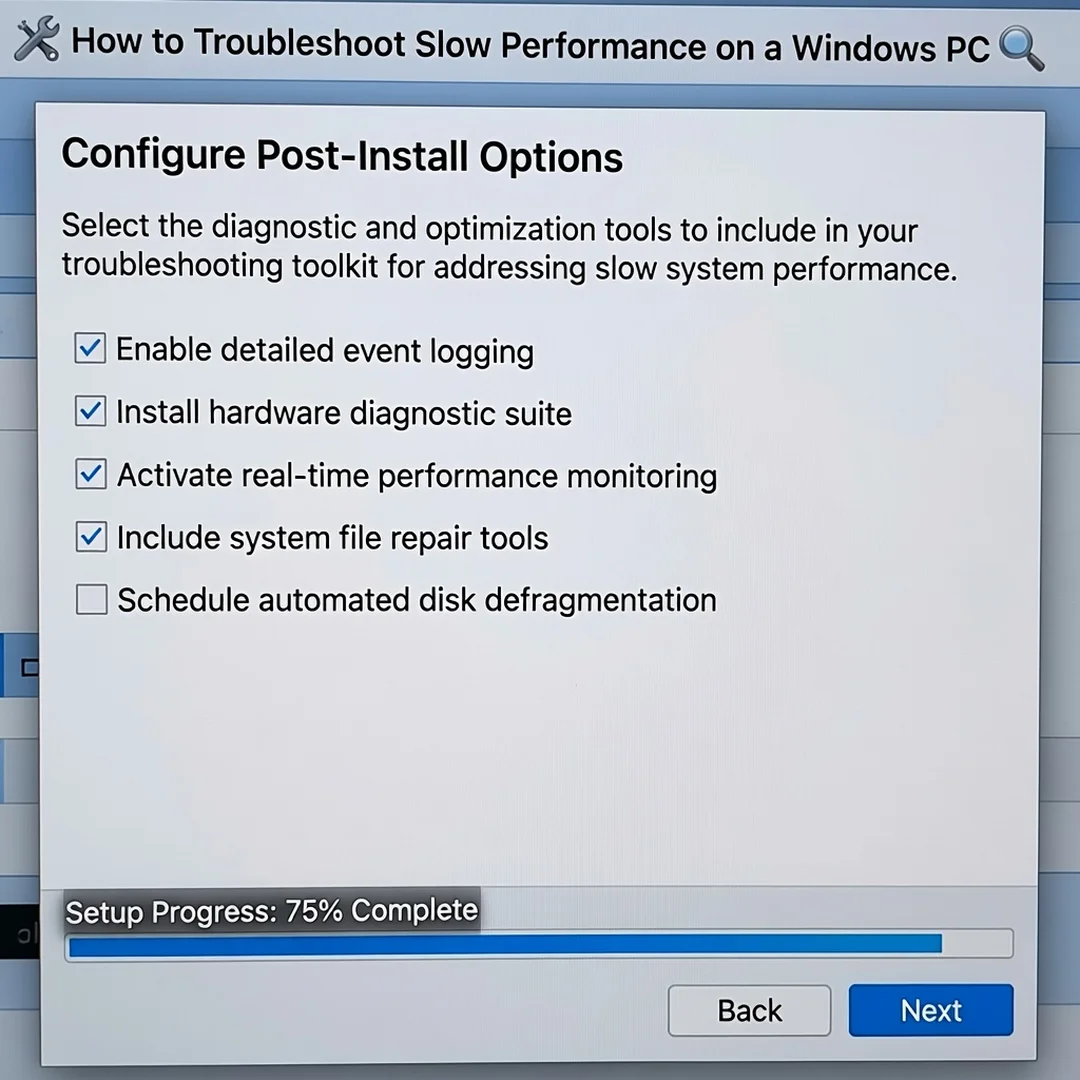
Step 6: Configure post-install options
Lock in the gains by configuring maintenance behavior. Set Windows Update active hours so updates install outside working hours. Configure Storage Sense to run weekly. Verify that the power plan is set to Balanced or High Performance, not Power Saver, and that the processor minimum state is not throttled. Schedule a monthly defragmentation for HDDs (never for SSDs) and a monthly full malware scan. Finally, uninstall applications the user has not opened in months; every idle program is a potential background service and update task.
Post-Installation
After the main fixes are applied, focus on preventing regression. Performance degradation in Windows is usually gradual, which means it can be caught early if you monitor a few key indicators.
- Boot time tracking: Windows records startup impact and boot duration in Event Viewer under Applications and Services Logs, then Microsoft, then Windows, then Diagnostics-Performance. Review it monthly.
Resource monitoring: Keep an eye on memory pressure. If a machine with 8 GB of RAM consistently runs.
You now have a complete workflow for How to Troubleshoot Slow Performance on a Windows PC. Keep your system updated, monitor resource usage, and revisit this guide when software versions change.
Next steps: harden your server firewall, set up automated backups, and explore related tutorials linked above.