
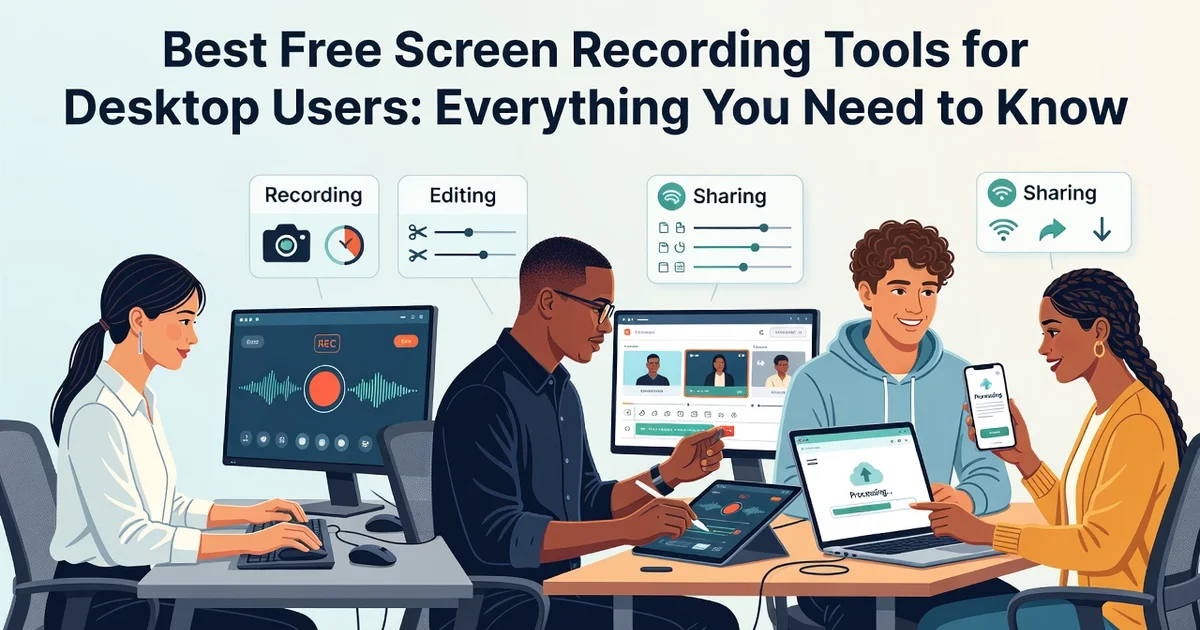
Whether you’re creating a tutorial, capturing a gameplay highlight, or documenting a software bug, you don’t need to spend a dime to get the job done. The best free screen recording tools for desktop users offer surprisingly robust features—from HD video capture to audio narration—without hidden paywalls or watermarks.
In this guide, we’ll break down the top options for Windows and Mac, compare their key strengths, and help you pick the right one for your needs. Let’s dive in and find your perfect screen recorder.
Introduction
Screen recording has become an everyday necessity for desktop users. Whether you are a remote worker documenting a software bug, a teacher creating a tutorial, a gamer capturing a highlight, or a student preparing a presentation, the ability to record what happens on your screen is genuinely useful. The good news is that you do not need to spend money to get started. A wide range of free screen recording tools for desktop users can handle everything from quick clips to polished, edited tutorials.
This article explores Best Free Screen Recording Tools for Desktop Users with clear, practical guidance. It covers what these tools actually do, how they differ, which ones are worth your time, and how to use them well. Understanding the fundamentals of Best Free Screen Recording Tools for Desktop Users helps you make informed decisions, rather than installing the first program that appears in a search result. Reliable information and consistent habits lead to better long-term outcomes, whether you record once a month or every day.
The goal here is not to overwhelm you with a hundred options. It is to give you a solid mental model, a shortlist of dependable tools, and a repeatable process you can follow. By the end, you should be able to choose a tool, configure it sensibly, and produce recordings that look and sound professional without paying a subscription fee.
Key Concepts
Before comparing tools, it helps to understand the vocabulary. Screen recording software captures the video output of your display, and usually audio as well. The main variables that affect quality and file size are resolution, frame rate, and codec. Resolution refers to the pixel dimensions of the capture, such as 1920×1080 (Full HD) or 3840×2160 (4K). Frame rate, measured in frames per second (fps), determines how smooth motion appears. Thirty fps is fine for tutorials and presentations; sixty fps is better for gaming and fast-moving content.
Audio is often the weak point of free tools, so pay attention to it. There are three audio sources you may want: system audio (sound played by your computer), microphone audio (your voice), and sometimes both mixed together. Not every free tool supports all three, and some make system audio capture difficult, particularly on macOS without extra configuration.
Another key concept is the difference between recording and editing. Many free tools record only. Others bundle a basic editor for trimming, cutting, and adding captions. If you plan to publish polished content, a tool with at least a trim-and-cut function saves you from exporting to separate software. Export formats matter too. MP4 with H.264 encoding is the most compatible choice for sharing on websites, messaging apps, and video platforms. Some tools also offer GIF or WebM export, which can be handy for short loops.
Finally, consider hardware demand. Recording encodes video in real time, which uses CPU or GPU resources. On older desktops, high-resolution capture at 60 fps can cause dropped frames or sluggish performance. Knowing your machine’s limits helps you pick settings that produce clean results.
Deep Dive
What Makes a Free Screen Recorder Worth Using
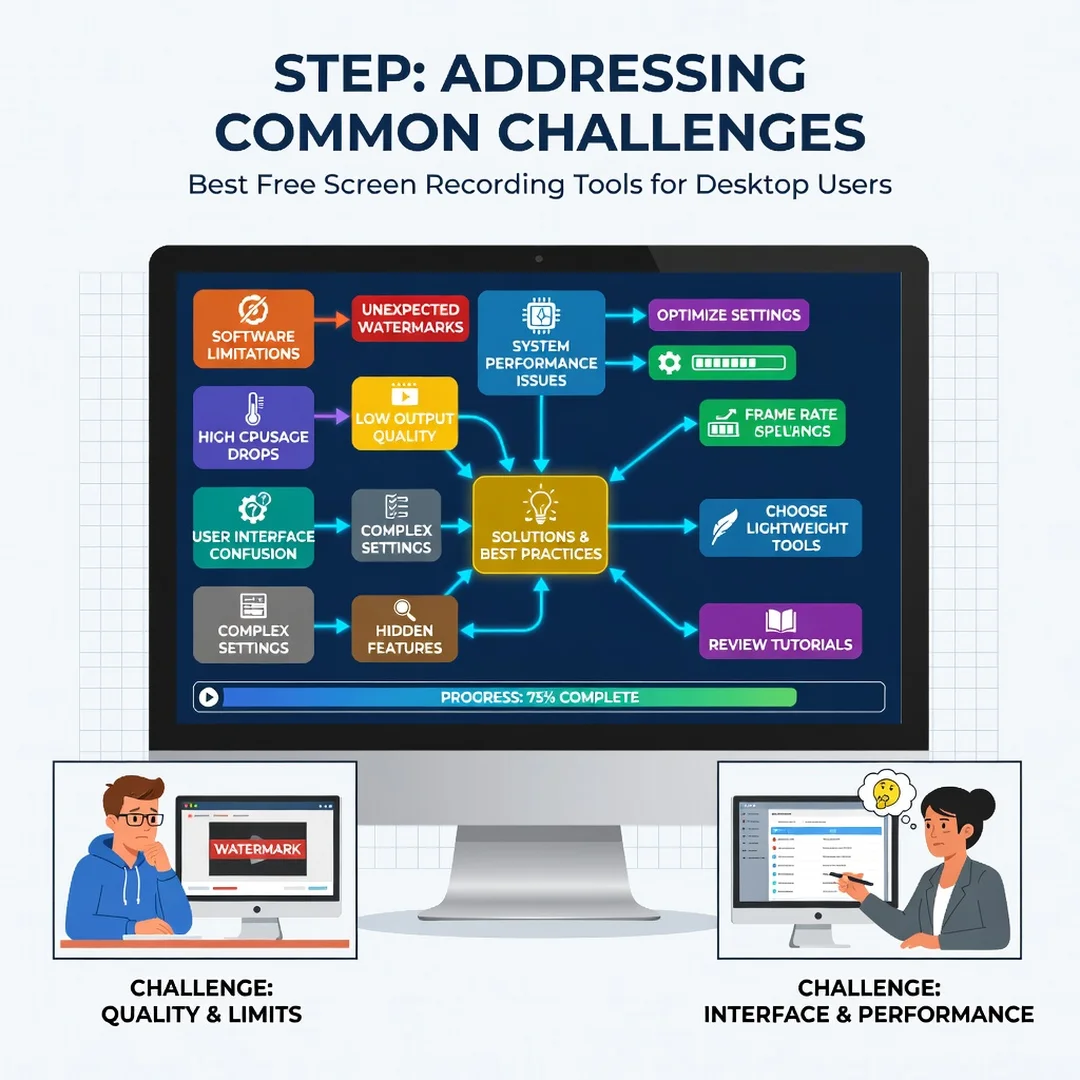
Free does not automatically mean good, and it does not automatically mean bad. The best free screen recorders share a few traits: no time limits on recordings, no intrusive watermarks, reasonable export quality, and support for at least microphone audio. Watermarks are the most common limitation. Some tools stamp a logo on every recording unless you upgrade. Time limits are another, capping clips at five or ten minutes. For occasional use, a watermark may be acceptable; for anything you share publicly, it usually is not.
It is also worth distinguishing between free and open-source. Open-source tools such as OBS Studio are completely free with no upsells, but they have a steeper learning curve. Freemium tools are easier to start with but often hide useful features behind a paywall. Neither approach is wrong; the right choice depends on how much control you want and how often you record.
Notable Free Options
OBS Studio is the most powerful free option available. It supports unlimited recording length, multiple scenes, system and microphone audio, and high-resolution capture. Its interface is dense, but once configured it is reliable and produces excellent results. It is ideal for gamers, streamers, and anyone who wants professional-grade output.
ShareX is a Windows-only tool that is remarkably feature-rich for a free program. It handles screen recording, screenshots, GIF creation, and even automated uploads. The interface is utilitarian, but the functionality is hard to beat at zero cost.
OBS alternatives for macOS include the built-in QuickTime Player, which can record the screen and microphone with almost no setup. It lacks advanced features, but for quick tutorials it is perfectly adequate. Kap is another lightweight macOS option with a clean interface and GIF export.
ScreenRec offers a simple, beginner-friendly experience with unlimited recording and free cloud sharing links. It is less powerful than OBS but much easier to learn. Loom has a generous free tier focused on quick, shareable recordings, though it limits video length and library size.
For Linux users, SimpleScreenRecorder and Kazam are dependable choices that integrate well with most distributions.
How These Tools Compare in Practice
- Ease of use: QuickTime Player, ScreenRec, and Loom are easiest; OBS Studio and ShareX require more setup.
- Feature depth: OBS Studio leads, followed by ShareX.
- Audio flexibility: OBS Studio and ShareX offer the most control; QuickTime is limited for system audio on some versions.
- Watermarks: OBS Studio, ShareX, and QuickTime do not add them; some freemium tools do.
- Export quality: OBS Studio and ShareX allow detailed encoding settings; simpler tools use fixed presets.
If you are unsure, start with a simple tool for your first few recordings, then move to OBS Studio once you need more control. There is no penalty for switching.
Step 1: Understand the fundamentals
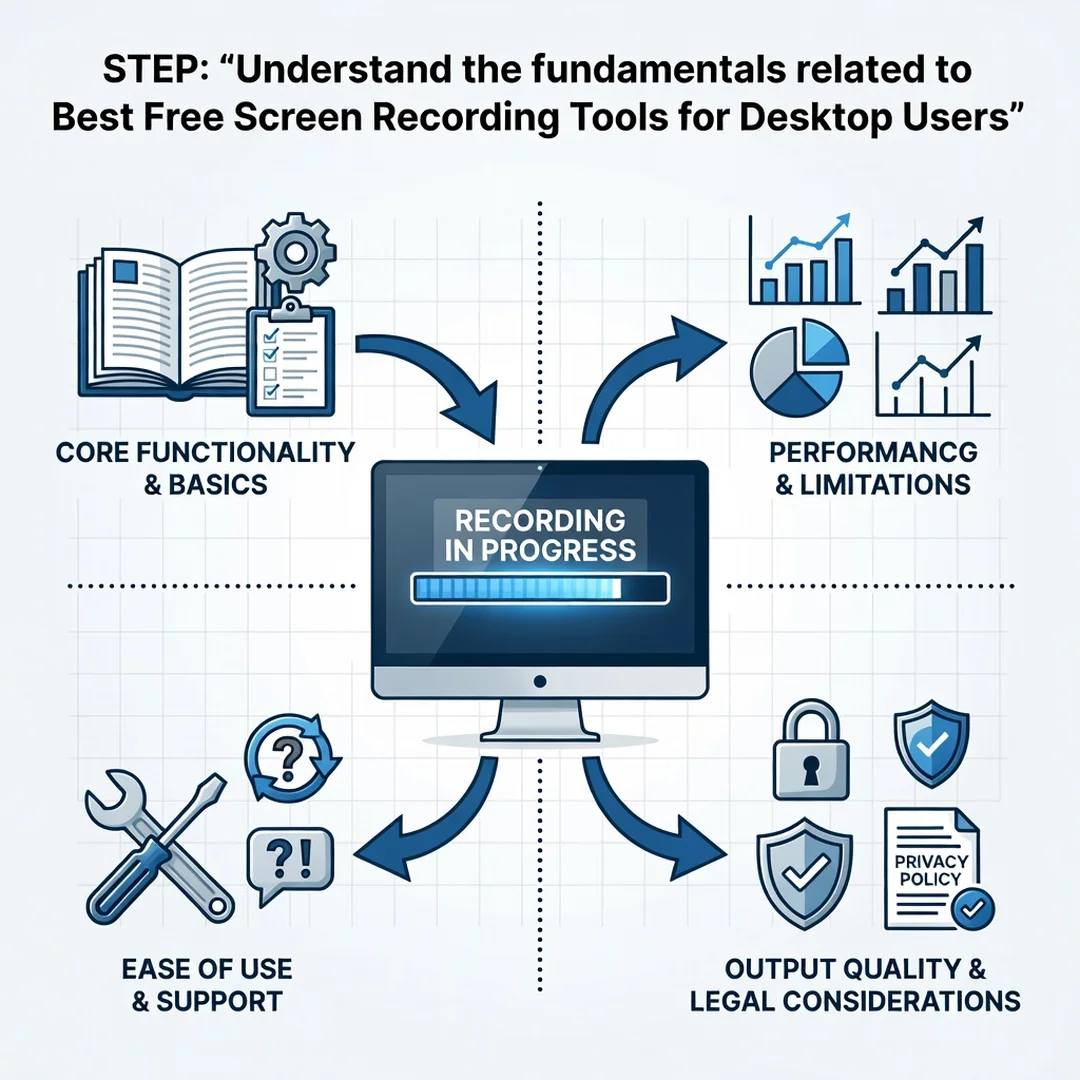
Learn what resolution, frame rate, and audio sources mean for your recordings. Decide whether you need 1080p or 4K, 30 or 60 fps, and whether system audio matters. This basic knowledge prevents wasted time and disappointing results.
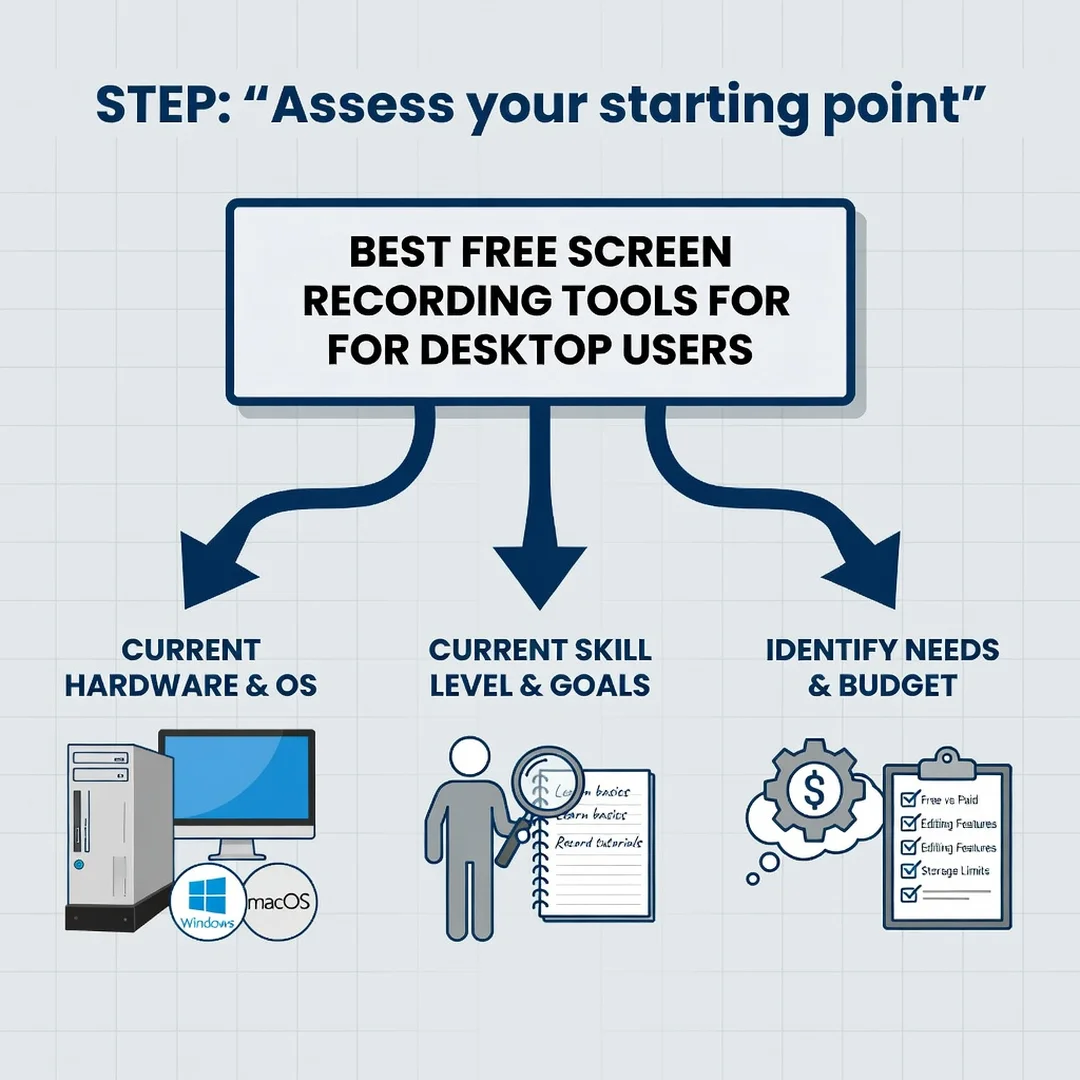
Step 2: Assess your starting point
Check your operating system, available disk space, and hardware. Recording at high settings requires free space and processing power. Note whether you are on Windows, macOS, or Linux, since tool availability differs by platform. Identify any existing software, such as QuickTime on Mac or Xbox Game Bar on Windows, that you can use immediately.
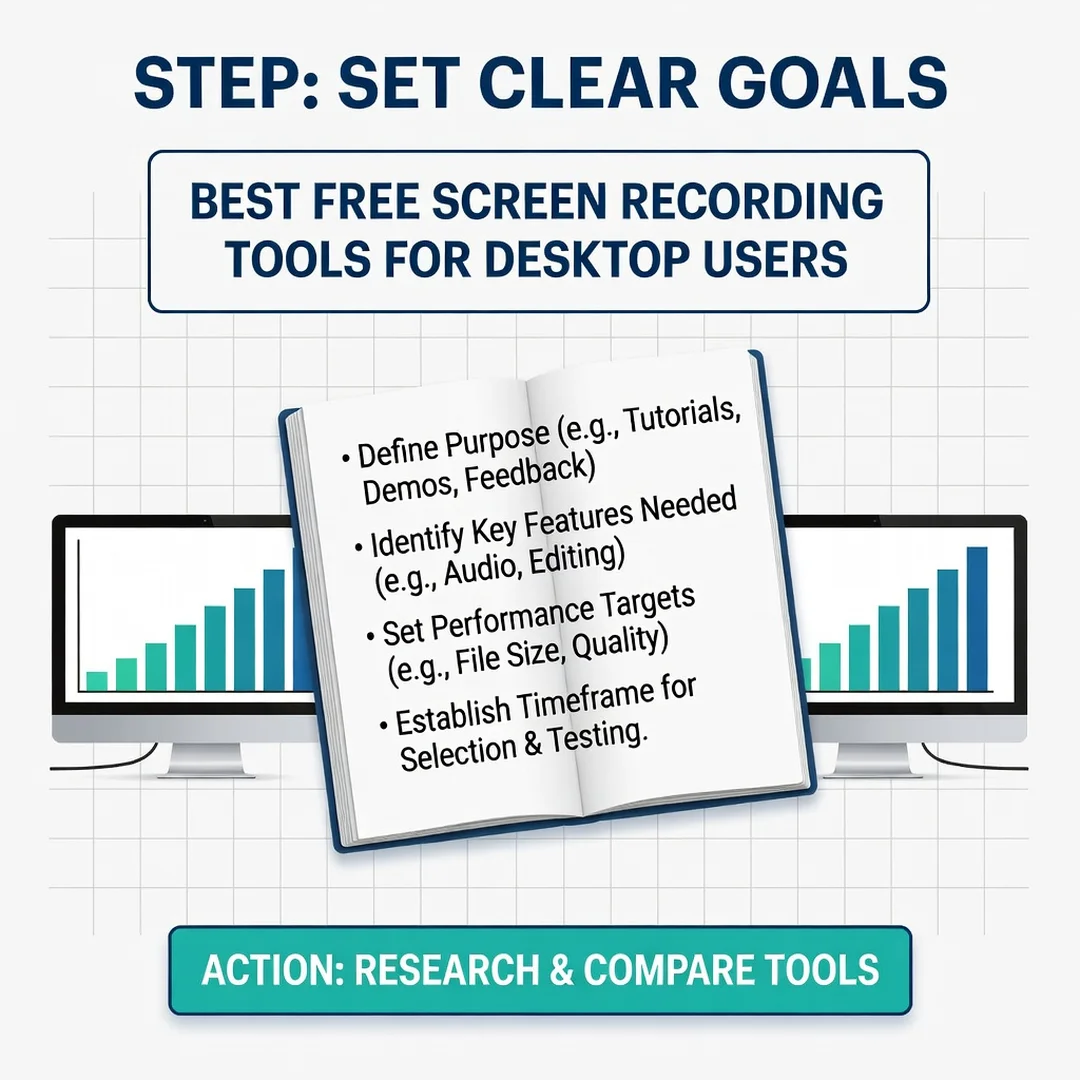
Step 3: Set clear goals
Define what you want to record and why. A five-minute software tutorial has different needs than a one-hour gameplay session or a quick bug report clip. Your goal determines your tool choice, your settings, and how much editing you will need. Write the goal down so you can evaluate whether your setup meets it.
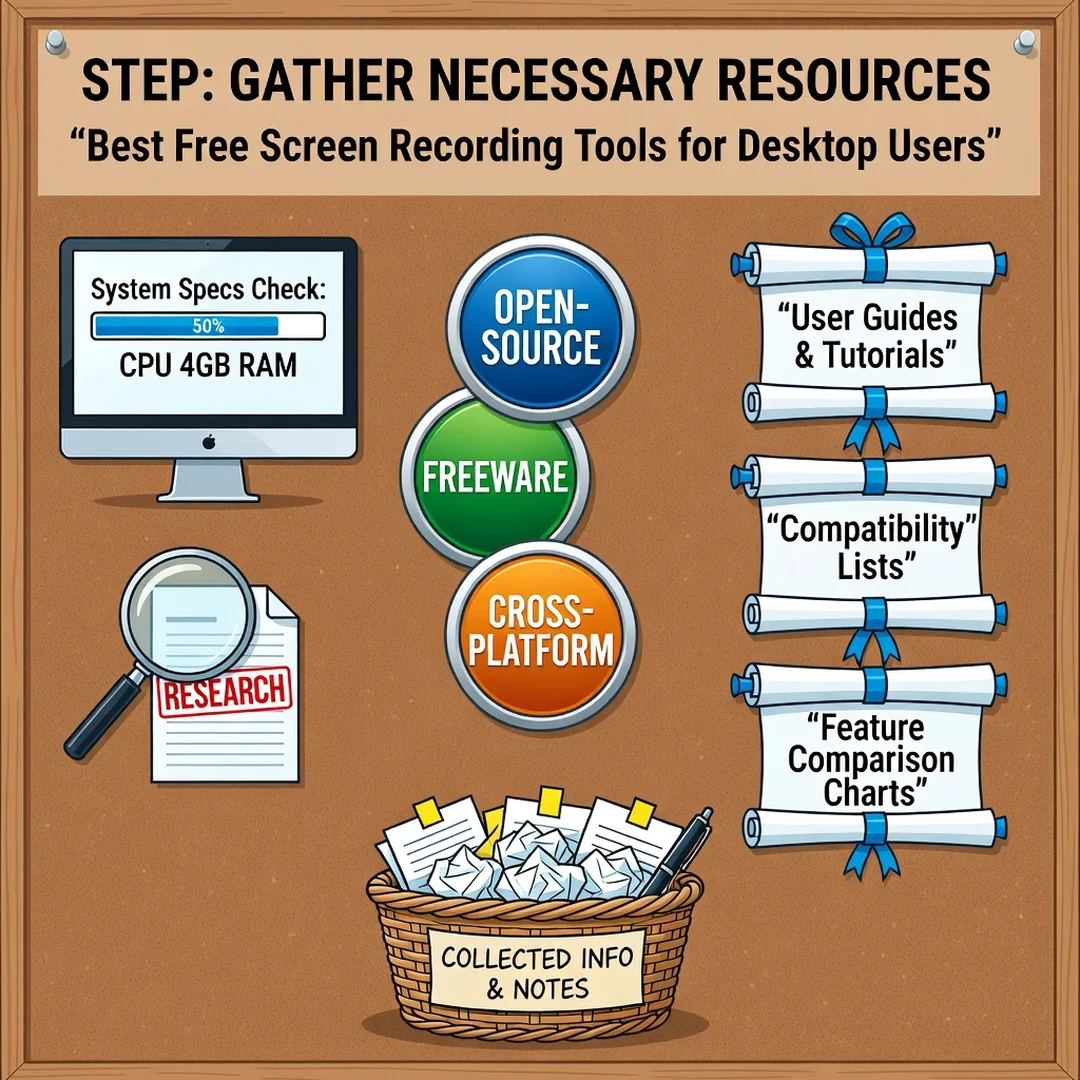
Step 4: Gather necessary resources
Install your chosen tool and test your microphone. A cheap headset microphone often outperforms a laptop’s built-in mic. Clear some disk space, close unnecessary background programs, and prepare a clean desktop or browser window. If you will narrate, write a short script or bullet list of talking points.
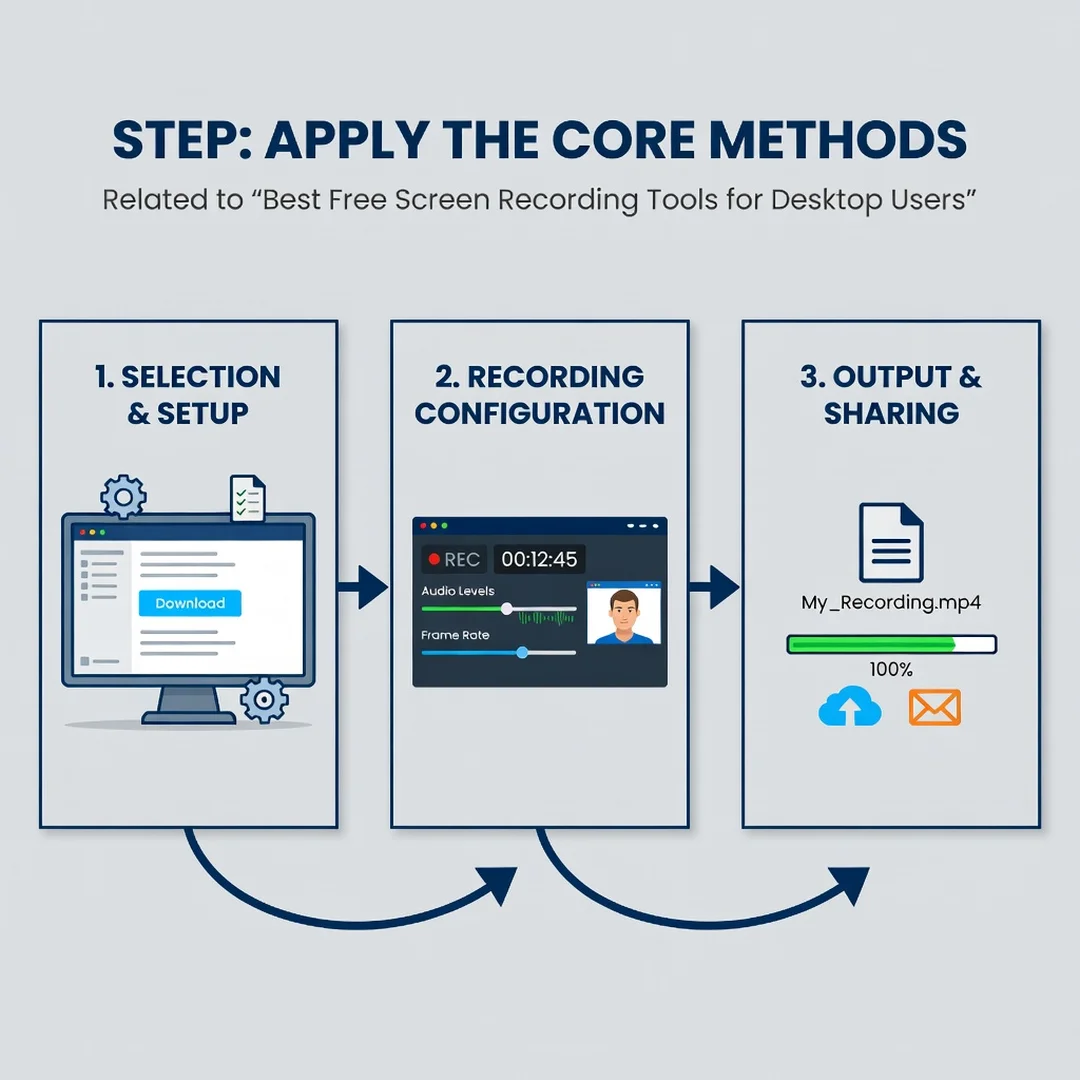
Step 5: Apply the core methods
Do a short test recording first. Speak normally, move your mouse, and open the windows you plan to show. Review the clip for audio levels, frame drops, and clarity. Adjust settings as needed, then record your real content. Keep sessions focused and avoid unnecessary cursor movement, which distracts viewers.
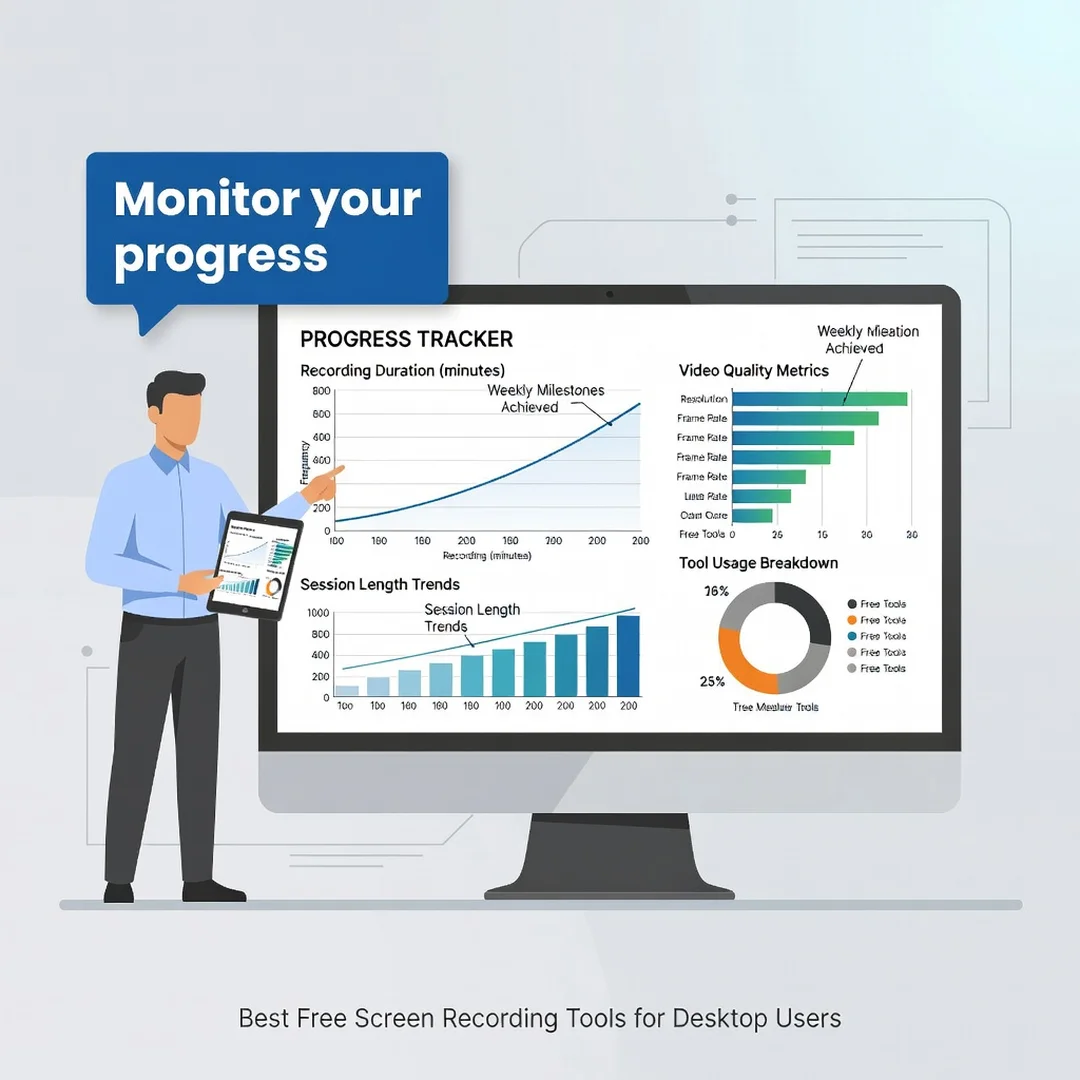
Step 6: Monitor your progress
After recording, review the file for quality and completeness. Note any recurring problems, such as audio that is too quiet or video that stutters, and fix the settings before the next session. Over time, keep a small set of preferred presets so you can start recording quickly and consistently.
Best Practices
Good recordings are usually the result of good preparation rather than expensive software. These habits apply regardless of which free tool you choose.
- Plan before you record. A short outline reduces mistakes and retakes.
- Test audio every time. Audio problems are the most common complaint in screen recordings.
- Use a clean desktop. Close personal tabs, notifications, and messaging apps before recording.
- Record in segments. Short clips are easier to edit and re-record than one long take.
- Choose sensible settings. 1080p at 30 fps is enough for most tutorials and keeps file sizes manageable.
- Use keyboard shortcuts. Most tools support start/stop hotkeys, which reduce awkward mouse movement at the beginning and end of clips.
- Store recordings in one folder. A simple naming convention such as date and topic saves time later.
- Back up important recordings. Free cloud storage tiers fill up quickly; keep local copies of anything critical.
Consistency matters more than perfection. Reliable information and consistent habits lead to better long-term outcomes, so focus on a repeatable workflow rather than chasing the ideal setup.
FAQ
What should I know about Best Free Screen Recording Tools for Desktop Users?
The most important thing to understand is that free tools vary widely in limits. Check for watermarks, recording time caps, export restrictions, and audio support before committing. OBS Studio and ShareX are the most capable free options, while QuickTime, ScreenRec, and Loom are easier for beginners. Also remember that recording performance depends on your hardware, so test before relying on any tool for important work.
Who is this guide for?
This guide is for desktop users who want to record their screens without paying for software. That includes remote workers, teachers, students, content creators, gamers, and anyone who needs to demonstrate something on a computer. No prior experience with video recording is required, though basic familiarity with your operating system helps.
Are free screen recorders safe to install?
Reputable tools from well-known developers are generally safe. Download from official websites rather than third-party download portals, and read the permissions a program requests. Avoid tools that bundle unrelated software or push aggressive upgrades.
Can I record system audio for free?
Yes, but support varies. OBS Studio on Windows and Linux handles system audio well. On macOS, system audio capture sometimes requires additional configuration or a virtual audio device. Simpler tools may only record your microphone.
Do I need a powerful computer?
You now have a solid foundation for Best Free Screen Recording Tools for Desktop Users. Apply the best practices above and revisit this guide as your needs evolve.