
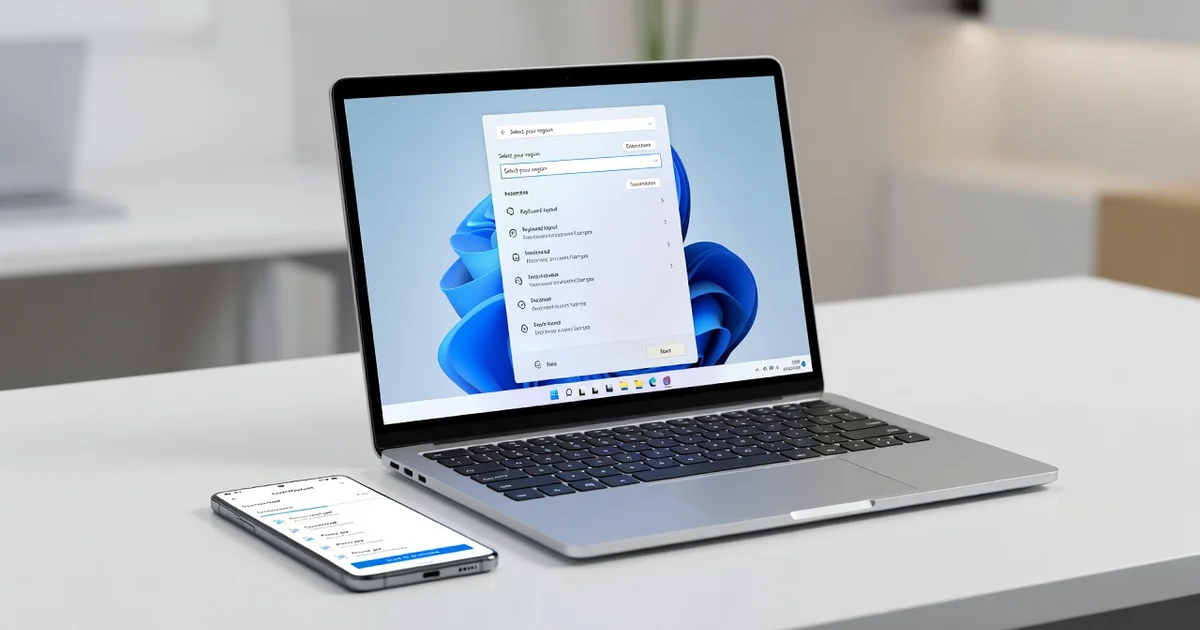
Moving photos, documents, or work files from your phone to your PC shouldn’t be a headache. Whether you’re a beginner sending vacation pictures to your laptop or an IT administrator managing devices across an office, knowing how to transfer files between Android and Windows quickly and securely is an essential skill.
In this guide, we’ll walk through the most reliable methods — from simple USB connections and built-in Windows tools to wireless options and third-party apps. By the end, you’ll have a transfer method that fits your workflow, whether you need speed, convenience, or enterprise-level control.
Introduction
Transferring files between an Android phone and a Windows PC is one of the most common tasks in modern computing, yet it still trips up beginners and experienced IT administrators alike. The reasons are simple: Android devices come from dozens of manufacturers, Windows has evolved through many USB and networking stacks, and the tools available range from built-in utilities to third-party applications that behave very differently depending on your hardware and version. This guide covers How to Transfer Files Between Android and Windows in practical, step-by-step detail, so you can pick a method, set it up, and move documents, photos, videos, and app data reliably.
There are three broad approaches worth understanding before you touch a cable or install anything. The first is physical connection over USB, which uses the Media Transfer Protocol (MTP) or Picture Transfer Protocol (PTP). The second is wireless transfer over your local network using protocols such as SMB, FTP, or Wi-Fi Direct. The third is cloud or intermediary transfer, where files pass through a service like Google Drive, OneDrive, or a dedicated sync app. Each approach has trade-offs in speed, security, setup complexity, and whether it works without an internet connection.
For beginners, the USB route is usually the fastest path to success because it requires no accounts and no network configuration. For IT administrators managing fleets of devices, the wireless and command-line options become far more attractive because they can be scripted, audited, and deployed at scale. Throughout this article, we treat both audiences: we explain concepts in plain language, but we also flag the configuration details that matter when you are responsible for dozens or hundreds of endpoints.
One recurring theme deserves emphasis up front: always verify software compatibility with your hardware architecture (ARM64 vs x86). Many transfer utilities, USB drivers, and Android debugging bridges ship separate builds for ARM64 and x86-64 processors. Installing the wrong one produces cryptic errors, silent failures, or an application that launches and then immediately crashes. Similarly, keeping your operating system updated before installation prevents dependency conflicts, because Windows updates frequently replace or re-register the very components (USB controllers, .NET runtimes, network filters) that file-transfer tools depend on.
Prerequisites
Before you begin, confirm that you have the following items and conditions in place. Skipping this section is the single most common cause of wasted hours.
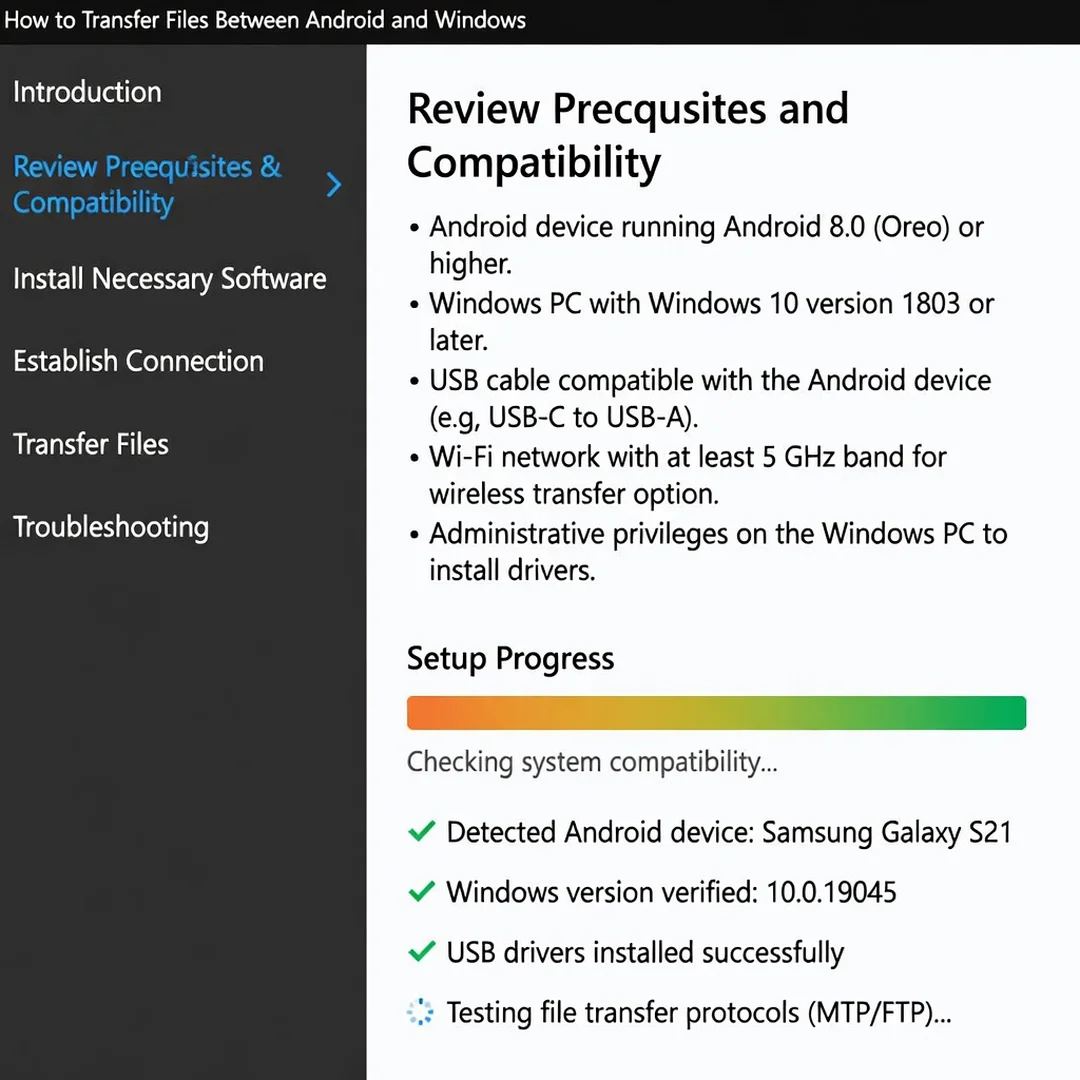
- A Windows PC running Windows 10 or Windows 11, with the latest cumulative updates installed. Windows 7 and 8.1 are out of support and lack modern USB driver signing, so avoid them for new setups.
- An Android device running Android 8.0 or newer. Older versions can work but may not support modern MTP extensions or wireless debugging.
- A reliable USB data cable. Many cables shipped with chargers are power-only and carry no data lines. This is a frequent and frustrating failure point.
- Administrator rights on the Windows machine if you intend to install drivers or system-level tools.
- At least 2 GB of free disk space on both devices for temporary files and application installation.
- For wireless methods: both devices on the same local network, with client isolation disabled on the router or access point.
- For cloud methods: a stable internet connection and a signed-in account on both devices.
You should also know your hardware architecture. On Windows, open Settings, then System, then About, and look at the System type field. It will read either 64-bit operating system, x64-based processor, or ARM-based processor. On Android, the architecture is almost always ARM64, but you can confirm with a system info app. This distinction matters when downloading drivers, Android Platform Tools, or third-party transfer clients.
Finally, decide which transfer method you will standardize on. For a single beginner user, USB with MTP is the pragmatic choice. For an IT administrator, we recommend a wireless SMB share plus a scripting-friendly tool such as Android Debug Bridge (ADB) for bulk operations. The steps below cover installation and configuration for a general-purpose toolkit that supports both, but the logic applies to almost any transfer application.
Preparation
Preparation is about reducing variables before you install anything. Rushed preparation leads to dependency conflicts that are painful to unwind later.
First, update Windows fully. Go to Settings, Windows Update, and install every available update, including optional driver updates. Reboot when prompted. Keeping your operating system updated before installation prevents dependency conflicts because many transfer tools rely on the Visual C++ Redistributable, .NET Desktop Runtime, and USB host controller drivers that Windows Update services.
Second, on the Android device, enable Developer Options if you plan to use ADB or advanced wireless debugging. Go to Settings, About phone, and tap Build number seven times. Then open Developer Options and turn on USB debugging. If you only intend to use MTP, you can leave debugging off.
Third, create a dedicated folder on Windows for incoming files, for example C:\Transfer\Android. This avoids scattering downloads across the Desktop and makes troubleshooting and cleanup easier. If you are an administrator, map this to a network share so multiple technicians use the same staging area.
Fourth, document your environment. Record the Windows build number, the Android version, the manufacturer, and the architecture of both machines. When something fails later, this information turns a vague problem into a searchable, specific error.
Fifth, disable antivirus real-time scanning temporarily during installation if your security product is known to block USB driver installation. Re-enable it immediately afterward. Do not leave protection disabled beyond the installation window.
Installation Steps
The following steps walk through a complete setup that supports both wired and wireless transfers. Follow them in order. The subheadings below are fixed and should be treated as a checklist.
Step 1: Review prerequisites and compatibility
Re-read the Prerequisites section and confirm each item physically. Plug the Android device into the PC with your chosen cable and check whether Windows acknowledges it. Open Device Manager and look for the device under Portable Devices or under Other Devices with a warning icon. If it appears with a warning, the driver is missing or mismatched, which is exactly the compatibility issue you want to discover now rather than mid-transfer. Confirm your Windows architecture (x64 or ARM64) and download only the matching build of any transfer utility. On ARM64 Windows machines, x64 emulation exists but native ARM64 builds perform better and avoid USB driver quirks.
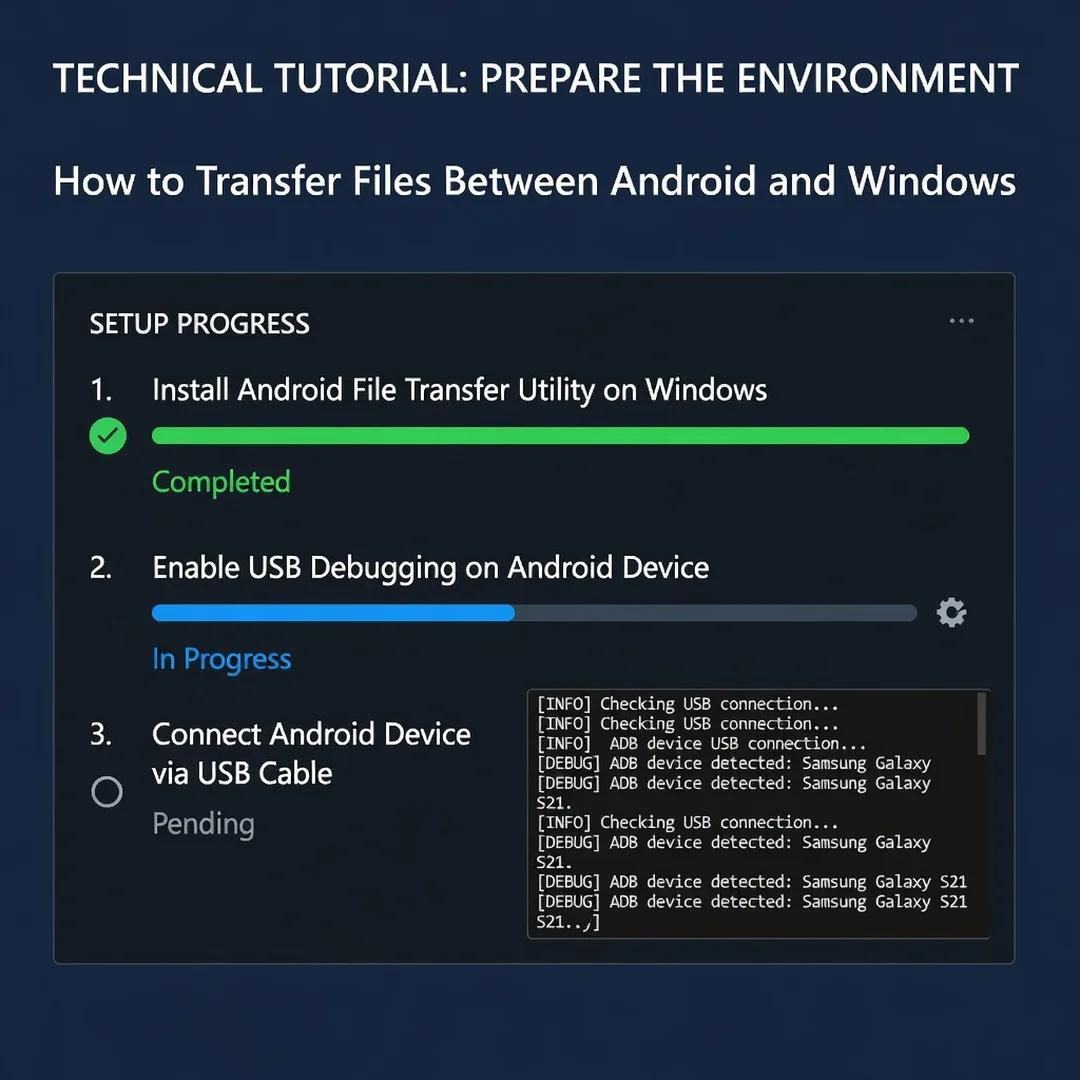
Step 2: Prepare the environment
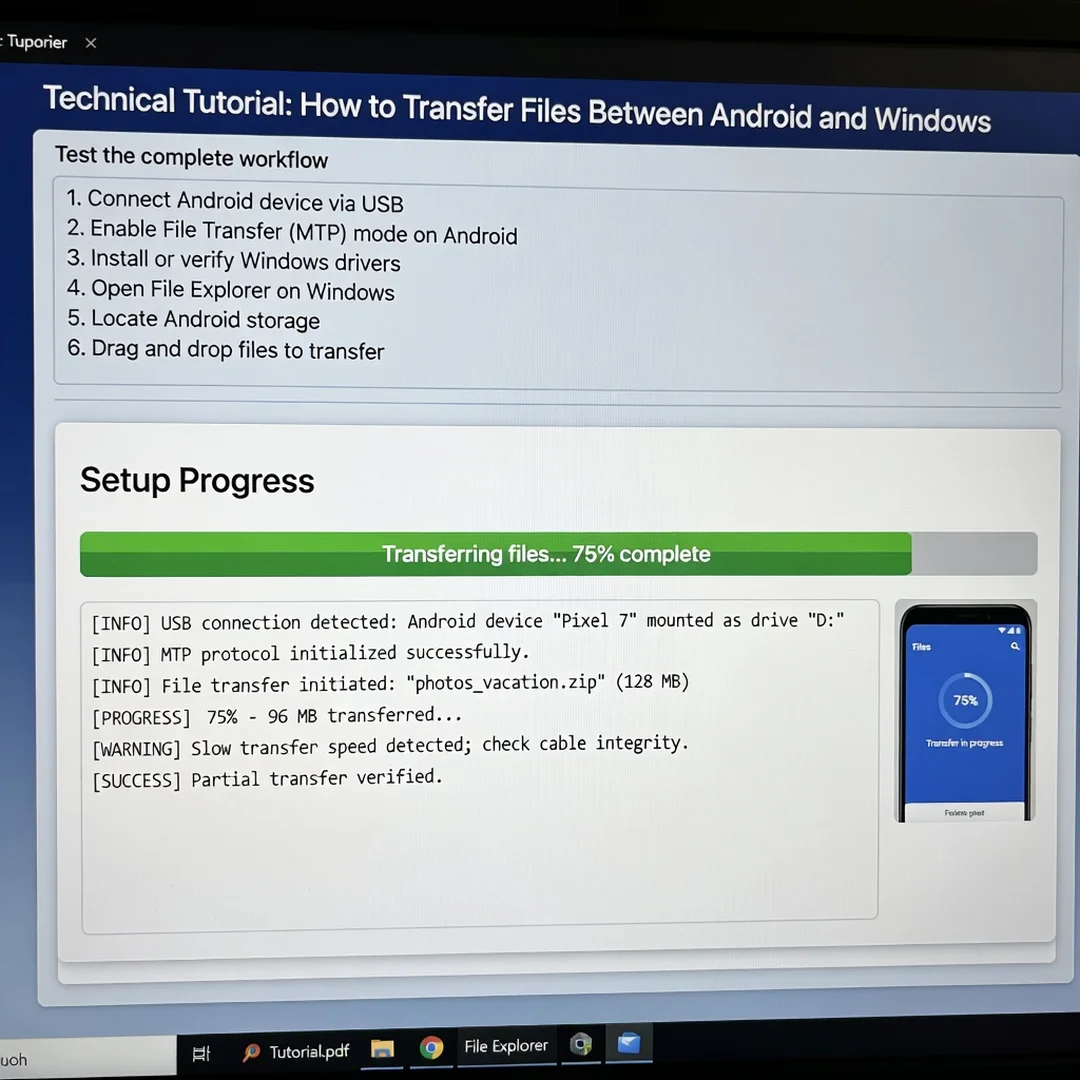
Close unnecessary applications, especially other programs that claim USB access, such as phone manager suites or camera import wizards. These tools can lock the MTP interface and cause the connection to drop. On the Android side, pull down the notification shade, tap the USB charging notification, and select File Transfer (MTP) rather than Charging only or PTP. If you plan to use ADB, install the Android Platform Tools package into a folder with no spaces in its path, for example C:\PlatformTools, because spaces break some command-line invocations. Add that folder to your system PATH if you want to call ADB from anywhere.
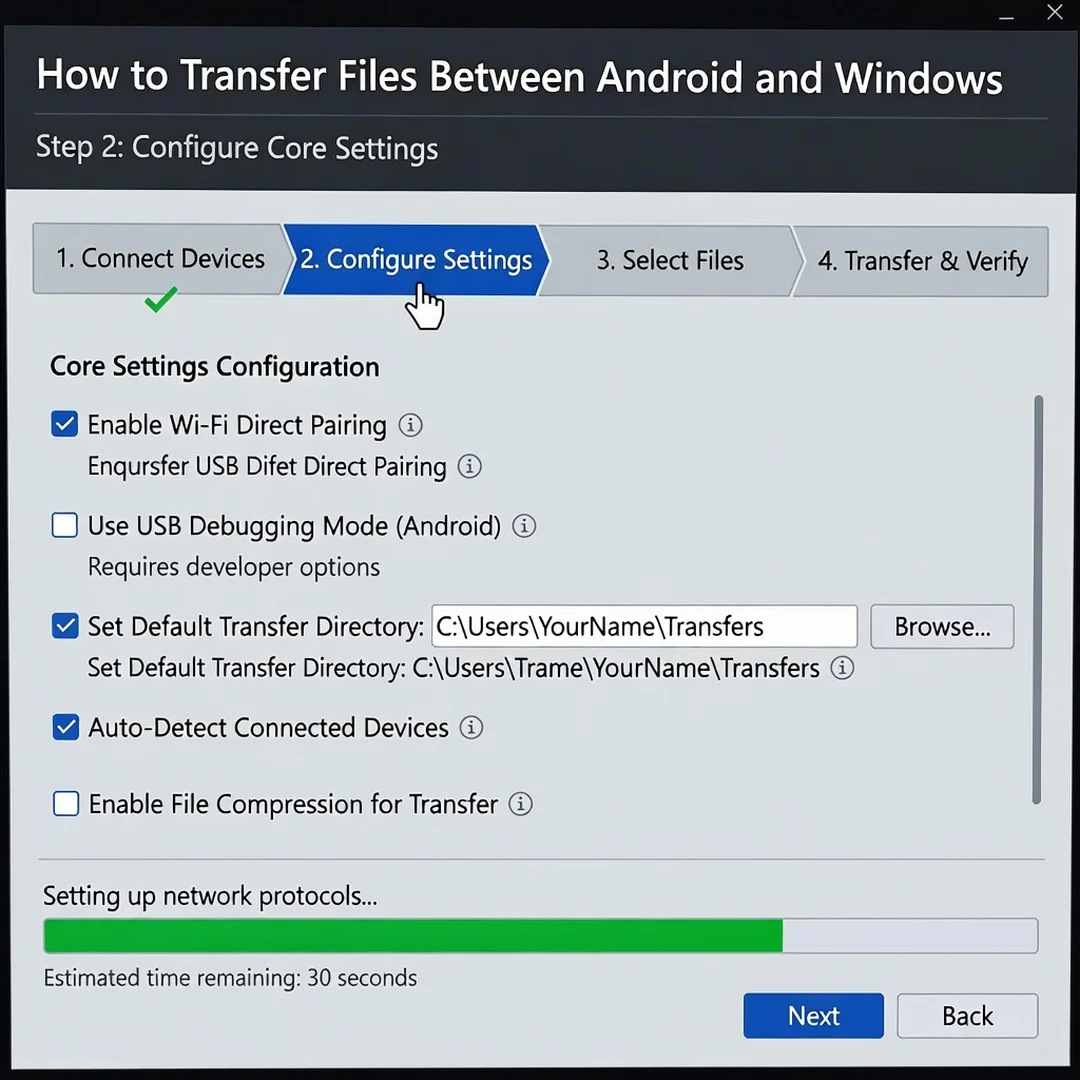
Step 3: Configure core settings
On Windows, open Settings, Bluetooth and devices, and verify that your phone appears. If it does not, unplug and replug the cable, trying a different USB port, preferably one directly on the motherboard rather than a hub. On the phone, set the USB configuration to MTP persistently where the manufacturer allows it. For wireless transfers, configure a shared folder on Windows: right-click the folder, choose Properties, Sharing, and enable sharing with the appropriate user account. Note the network path, which will look like \\ComputerName\ShareName. On the phone, install a file manager that supports SMB, such as a reputable third-party app, and enter the share credentials. Test read access before you attempt to write.
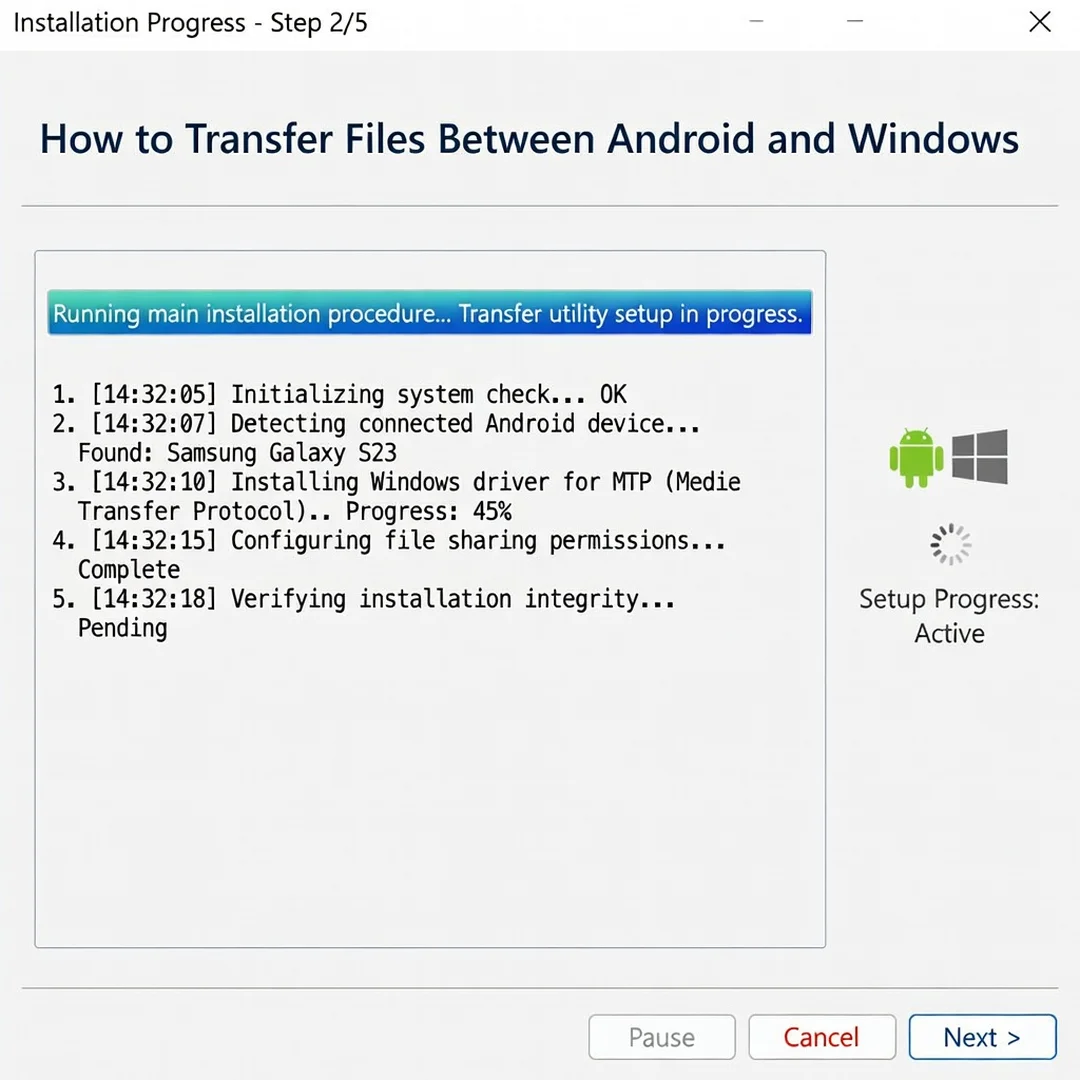
Step 4: Run the main installation procedure
If you are using only built-in MTP, there is nothing to install: Windows should mount the phone as a drive-like device in File Explorer under This PC. If Windows does not mount it, install the manufacturer’s USB driver from the official support site, choosing the build that matches your architecture. For ADB-based workflows, run the installer or extract the Platform Tools archive, then open a command prompt as administrator and run adb devices. Accept the RSA authorization prompt on the phone. For wireless transfer applications, download the installer only from the vendor’s official site or a trusted repository, then run it and accept the default install location unless your organization mandates otherwise. During installation, watch for prompts about drivers and runtimes; allow them. If the installer offers a custom setup, deselect browser toolbars and bundled third-party offers.
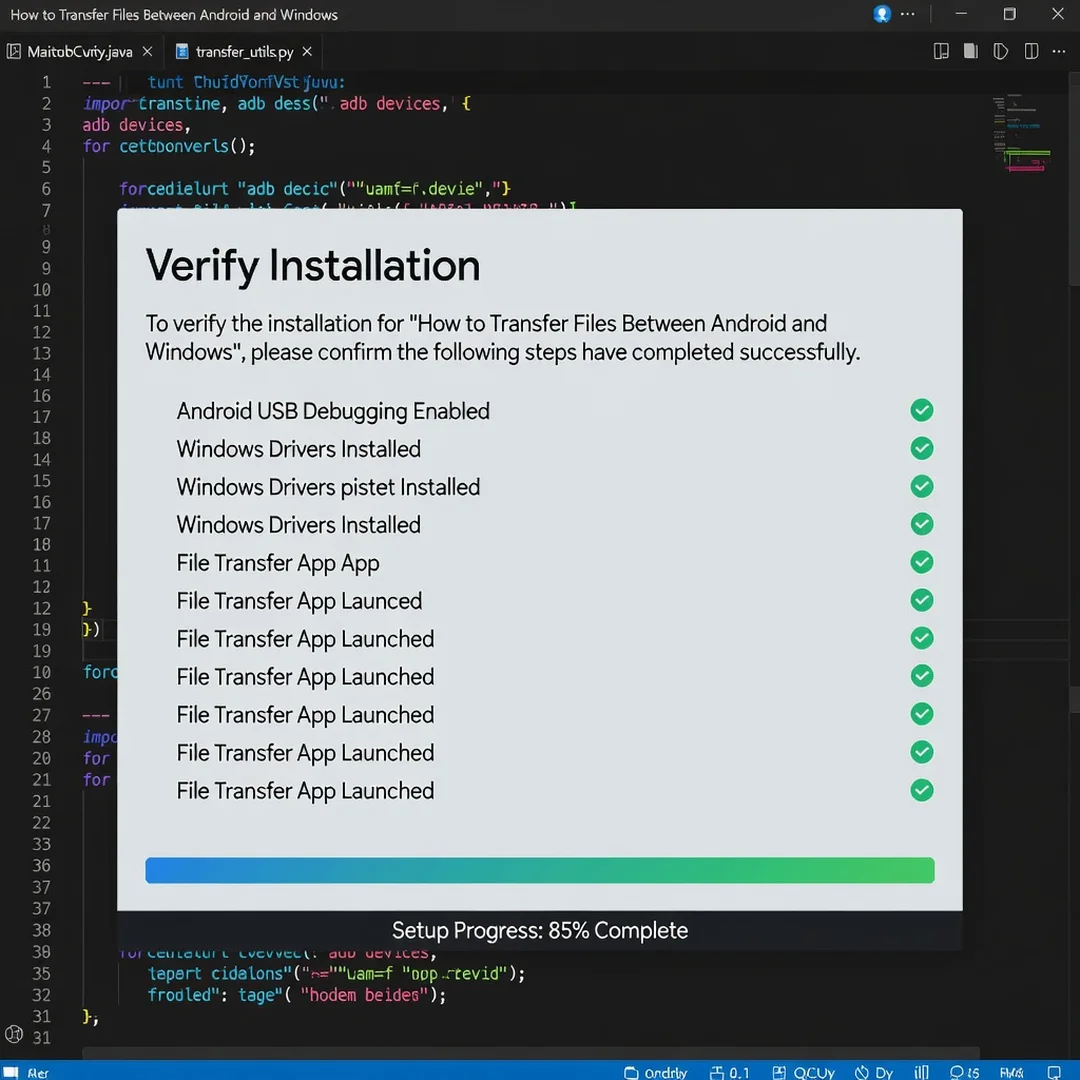
Step 5: Verify the installation
Verification is not optional. For MTP, open File Explorer, double-click the phone entry, and confirm you can see internal storage and any SD card. Copy a small test file in both directions and confirm the file size matches the original. For ADB, run adb devices again and confirm the device shows as device rather than unauthorized or offline. For a wireless SMB share, browse from the phone and from another PC to confirm permissions behave as expected. If any check fails, stop and resolve it before moving on.
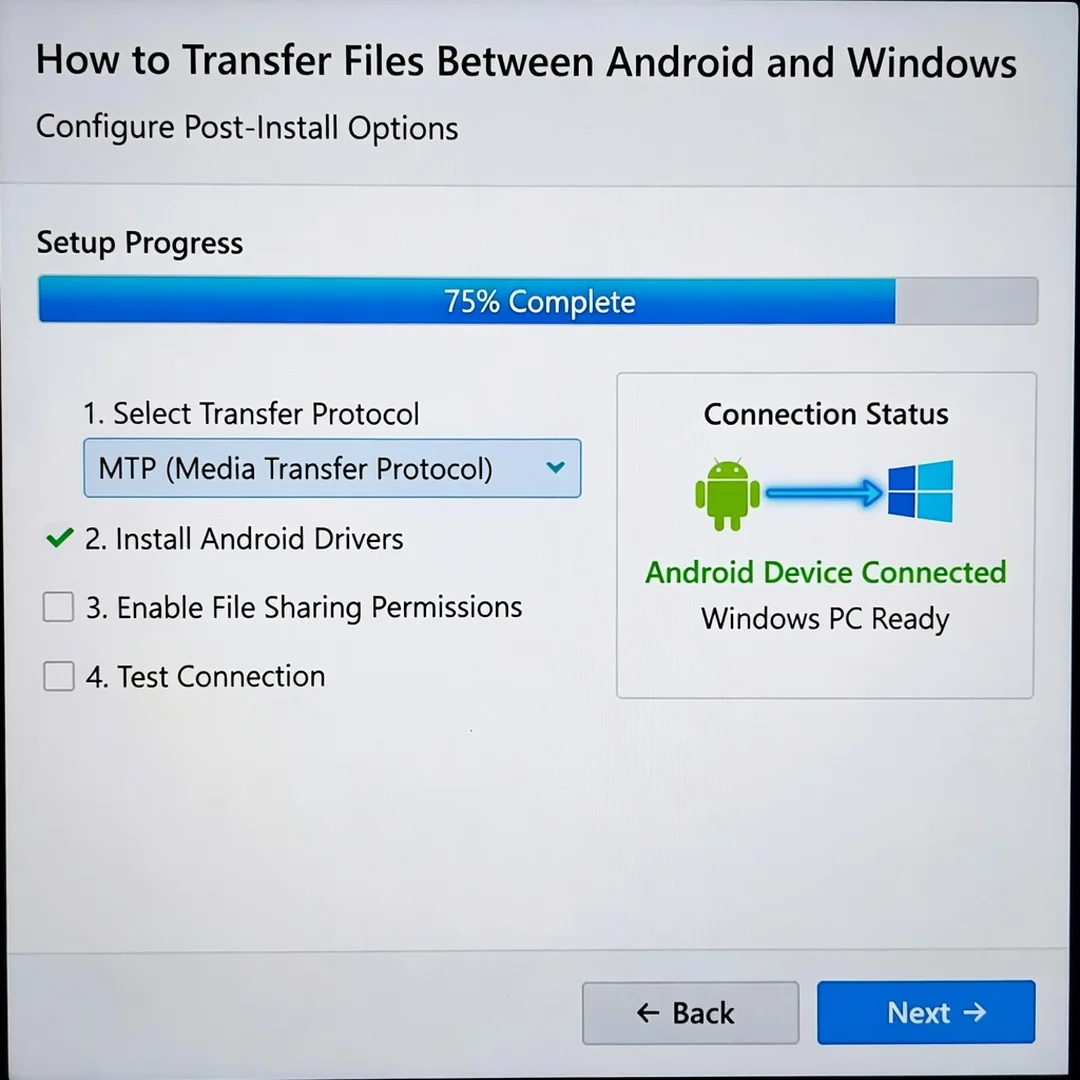
Step 6: Configure post-install options
Now harden and streamline the setup. Set a default transfer folder, enable or disable auto-sync according to your needs, and configure logging if you are an administrator. Consider enabling Windows Firewall rules for the specific transfer port rather than disabling the firewall entirely. On Android, revoke USB debugging authorization when you are finished with a device you do not own, and turn off wireless debugging when not in use to reduce attack surface. If the tool supports scheduled transfers, set a conservative interval and test it at least once.
Post-Installation
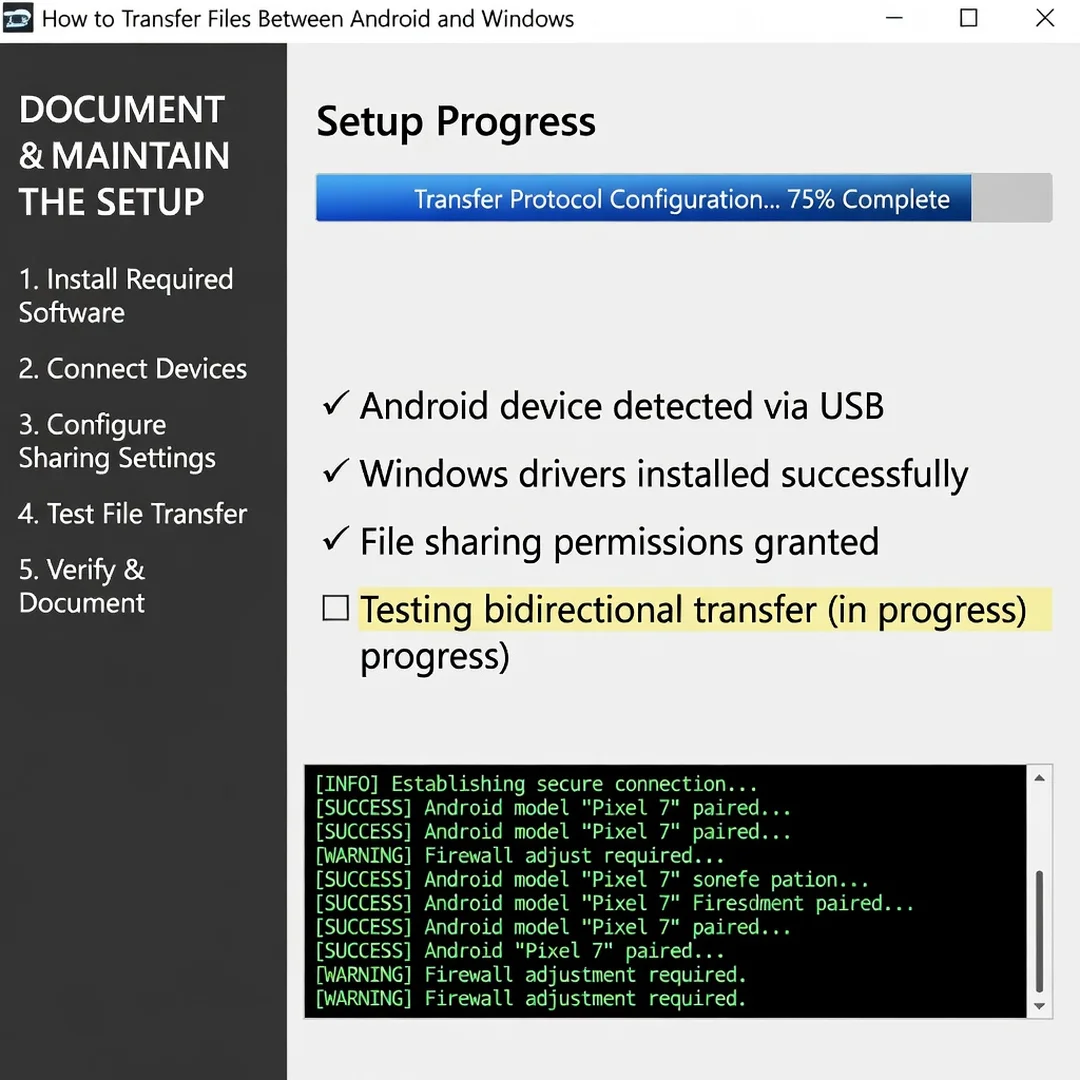
After everything works, take a few minutes to make the setup sustainable. Create a short internal note or runbook describing which method you used, the exact versions involved, and the steps to reproduce the configuration. For IT administrators, this documentation is what turns a one-off success into a repeatable deployment.
You now have a complete workflow for How to Transfer Files Between Android and Windows. Keep your system updated, monitor resource usage, and revisit this guide when software versions change.
Next steps: harden your server firewall, set up automated backups, and explore related tutorials linked above.